在 Hugging Face 中微调 Gemma 模型
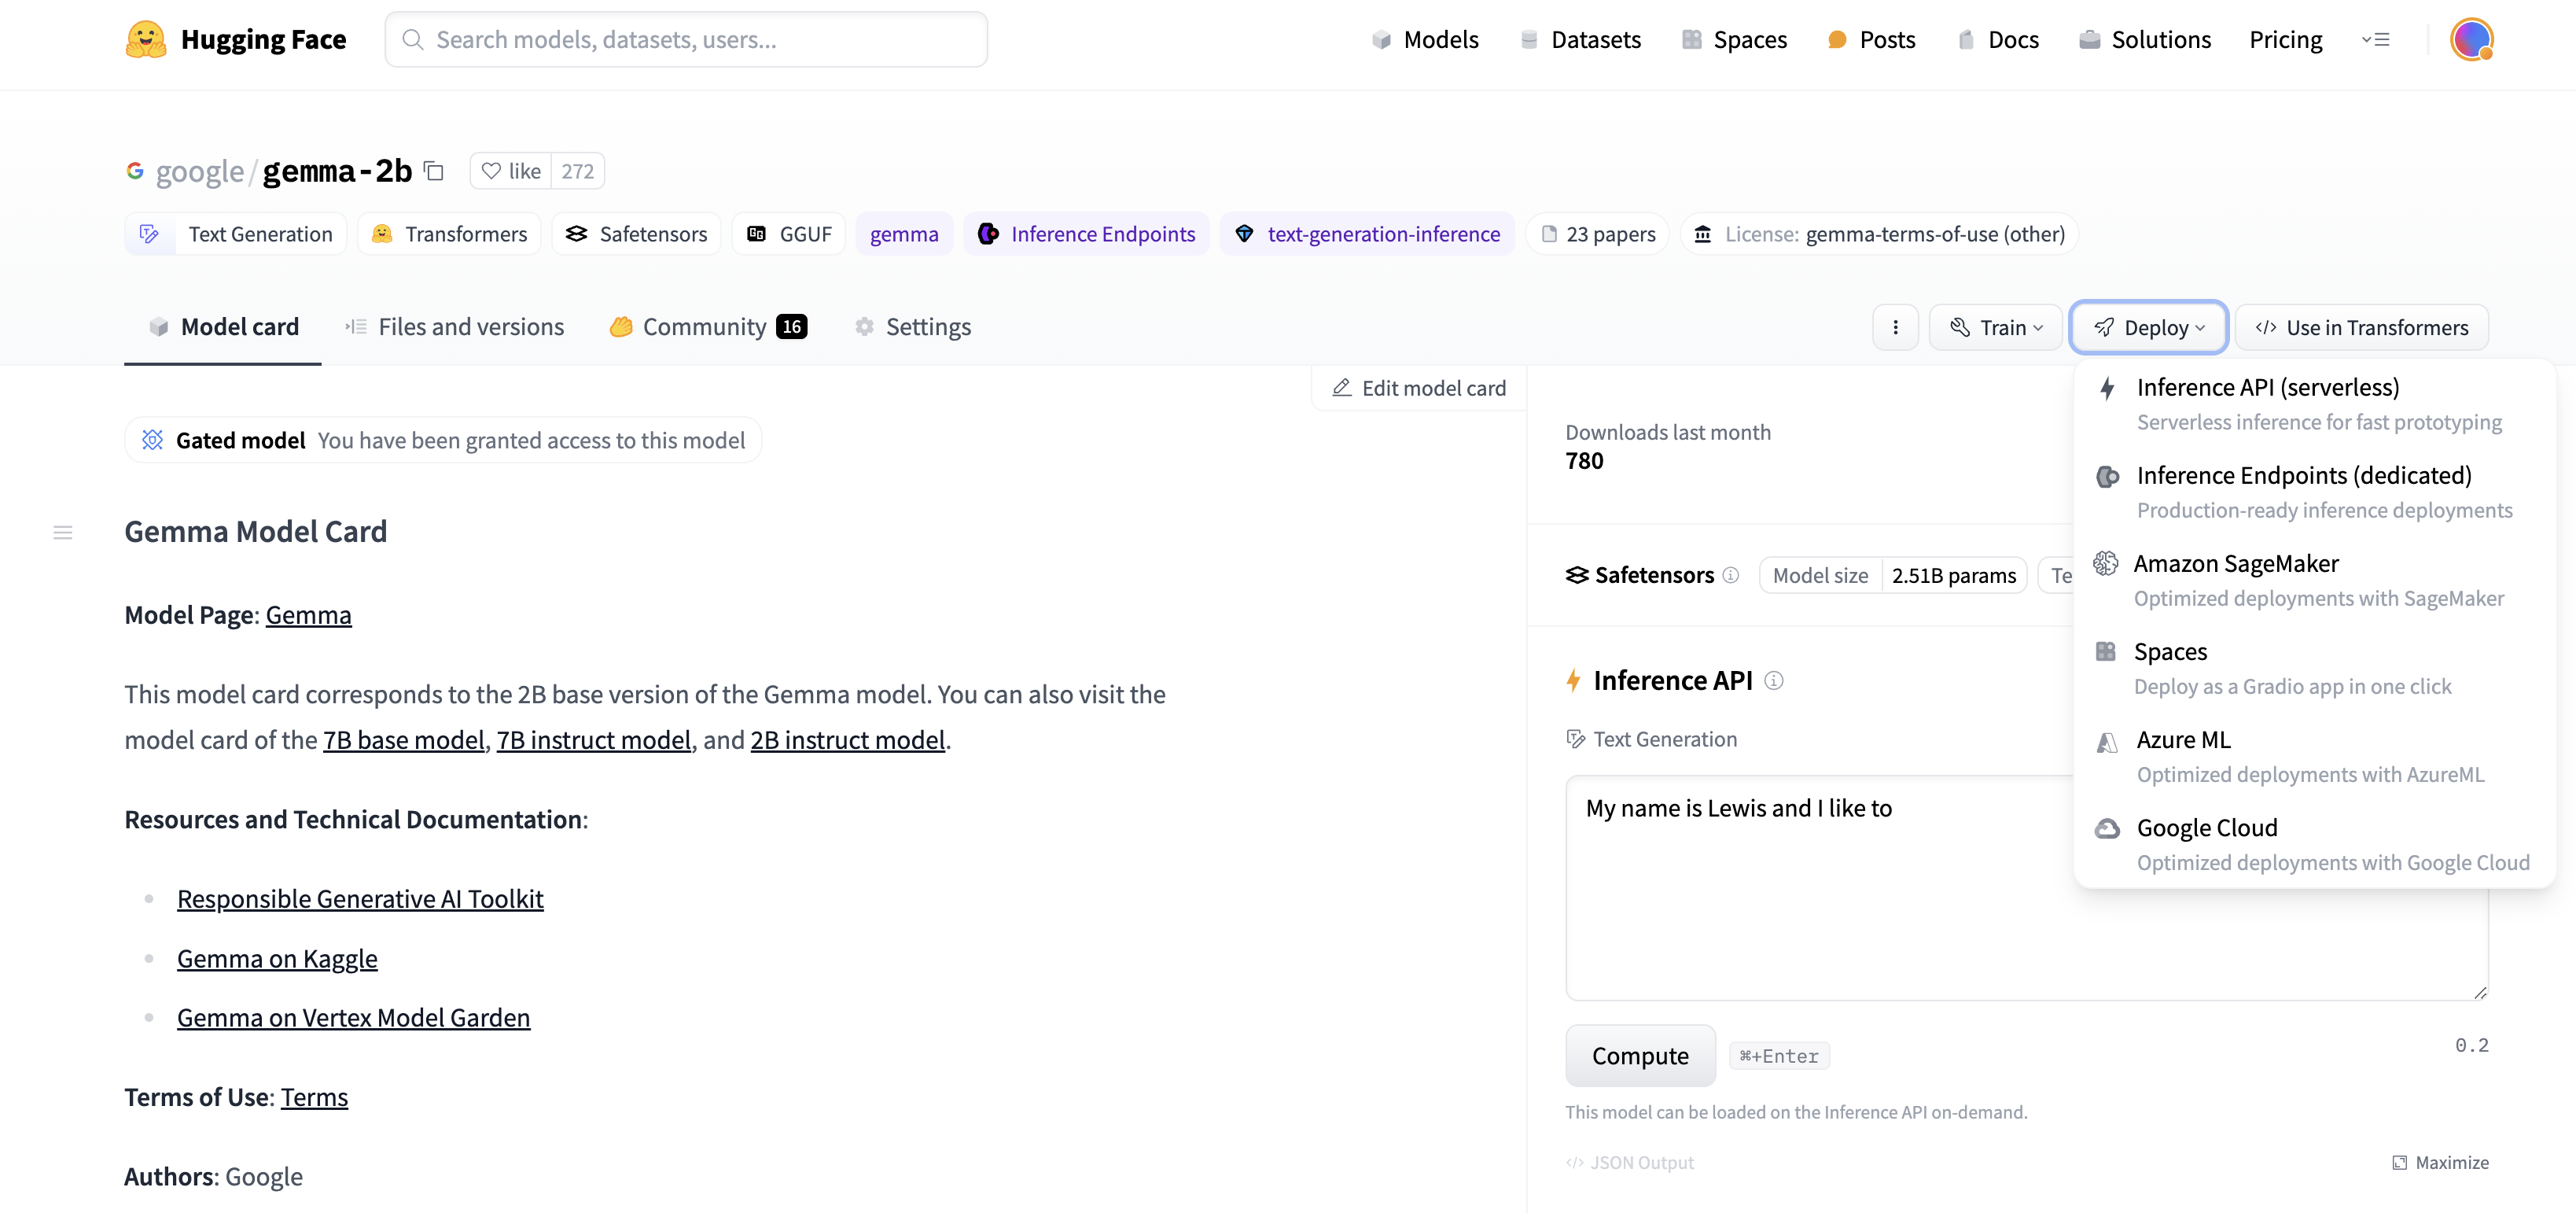
我们最近宣布,来自 Google Deepmind 的开放权重语言模型 Gemma,已通过 Hugging Face 向更广泛的开源社区开放。它提供 20 亿和 70 亿参数两种规模,并包含预训练和指令微调两种版本。Gemma 已在 Hugging Face 上线,受 TGI 支持,并可轻松在 Vertex Model Garden 和 Google Kubernetes Engine 中进行部署和微调。

Gemma 系列模型也非常适合使用 Colab 提供的免费 GPU 资源进行原型设计和实验。在这篇文章中,我们将简要回顾如何使用 Hugging Face Transformers 和 PEFT 库,在 GPU 和 Cloud TPU 上对 Gemma 模型进行 参数高效微调 (PEFT),以帮助任何希望在自己数据集上微调 Gemma 模型的用户。
为什么选择 PEFT?
对于语言模型而言,默认的(全权重)训练方法,即使是中等规模的模型,也往往是内存和计算密集型的。一方面,对于依赖 Colab 或 Kaggle 等开放计算平台进行学习和实验的用户来说,这可能 prohibitive (代价高昂)。另一方面,即使对于企业用户来说,为适应不同领域而调整这些模型的成本也是一个需要优化的重要指标。PEFT,即参数高效微调,是一种以低成本实现这一目标的流行技术。
在 GPU 和 TPU 上使用 PyTorch
Hugging Face transformers 中的 Gemma 模型针对 PyTorch 和 PyTorch/XLA 都进行了优化。这使得 TPU 和 GPU 用户都能根据需要访问和实验 Gemma 模型。随着 Gemma 的发布,我们还改进了 Hugging Face 中 PyTorch/XLA 的 FSDP 体验。这种通过 SPMD 实现的 FSDP 集成也使得其他 Hugging Face 模型能够利用 PyTorch/XLA 实现 TPU 加速。在这篇文章中,我们将重点关注 PEFT,特别是针对 Gemma 模型的低秩适应 (LoRA)。想要了解更全面的 LoRA 技术,我们鼓励读者参阅 Lialin 等人的《Scaling Down to Scale Up》以及 Belkada 等人这篇优秀的文章。
大型语言模型的低秩适应
低秩适应 (LoRA) 是大型语言模型 (LLM) 的一种参数高效微调技术。它通过冻结原始模型,只训练分解为低秩矩阵的适配器层,从而只对模型总参数的一小部分进行微调。 PEFT 库提供了一个简单的抽象,允许用户选择应该应用适配器权重的模型层。
from peft import LoraConfig

lora_config = LoraConfig(
    r=8,
    target_modules=["q_proj", "o_proj", "k_proj", "v_proj", "gate_proj", "up_proj", "down_proj"],
    task_type="CAUSAL_LM",
)
在这个代码片段中,我们将所有 `nn.Linear` 层指定为要进行适应的目标层。
在下面的例子中,我们将利用 Dettmers 等人提出的 QLoRA,将基础模型量化为 4 位精度,以实现更节省内存的微调方案。要使用 QLoRA 加载模型,首先需要在环境中安装 `bitsandbytes` 库,然后在加载模型时将一个 `BitsAndBytesConfig` 对象传递给 `from_pretrained`。
在我们开始之前
为了访问 Gemma 模型的工件,用户需要接受同意书。现在让我们开始实现吧。
学习引用
假设您已提交同意书,您可以从 Hugging Face Hub 访问模型工件。
我们首先下载模型和分词器。我们还包含了一个用于纯权重化 (weight only) 量化的 `BitsAndBytesConfig`。
import torch
import os
from transformers import AutoTokenizer, AutoModelForCausalLM, BitsAndBytesConfig

model_id = "google/gemma-2b"
bnb_config = BitsAndBytesConfig(
    load_in_4bit=True,
    bnb_4bit_quant_type="nf4",
    bnb_4bit_compute_dtype=torch.bfloat16
)

tokenizer = AutoTokenizer.from_pretrained(model_id, token=os.environ['HF_TOKEN'])
model = AutoModelForCausalLM.from_pretrained(model_id, quantization_config=bnb_config, device_map={"":0}, token=os.environ['HF_TOKEN'])
现在,在开始微调之前,我们用一句名言来测试模型。
text = "Quote: Imagination is more"
device = "cuda:0"
inputs = tokenizer(text, return_tensors="pt").to(device)

outputs = model.generate(**inputs, max_new_tokens=20)
print(tokenizer.decode(outputs[0], skip_special_tokens=True))
模型给出了一个合理的补全,但带有一些额外的词元。
Quote: Imagination is more important than knowledge. Knowledge is limited. Imagination encircles the world.

-Albert Einstein

I
但这并不完全是我们希望的答案格式。让我们看看能否通过微调来教会模型生成以下格式的答案。
Quote: Imagination is more important than knowledge. Knowledge is limited. Imagination encircles the world.

Author: Albert Einstein
首先,让我们选择一个英语名言数据集 Abirate/english_quotes。
from datasets import load_dataset

data = load_dataset("Abirate/english_quotes")
data = data.map(lambda samples: tokenizer(samples["quote"]), batched=True)
现在让我们使用上面提到的 LoRA 配置来微调这个模型。
import transformers
from trl import SFTTrainer

def formatting_func(example):
    text = f"Quote: {example['quote'][0]}\nAuthor: {example['author'][0]}<eos>"
    return [text]

trainer = SFTTrainer(
    model=model,
    train_dataset=data["train"],
    args=transformers.TrainingArguments(
        per_device_train_batch_size=1,
        gradient_accumulation_steps=4,
        warmup_steps=2,
        max_steps=10,
        learning_rate=2e-4,
        fp16=True,
        logging_steps=1,
        output_dir="outputs",
        optim="paged_adamw_8bit"
    ),
    peft_config=lora_config,
    formatting_func=formatting_func,
)
trainer.train()
最后,我们准备好用之前使用过的相同提示再次测试模型。
text = "Quote: Imagination is"
device = "cuda:0"
inputs = tokenizer(text, return_tensors="pt").to(device)

outputs = model.generate(**inputs, max_new_tokens=20)
print(tokenizer.decode(outputs[0], skip_special_tokens=True))
这次我们得到了我们喜欢的格式的响应。
Quote: Imagination is more important than knowledge. Knowledge is limited. Imagination encircles the world.
Author: Albert Einstein
通过 TPU 上的 SPMD 使用 FSDP 进行加速
如前所述,Hugging Face transformers 现在支持 PyTorch/XLA 最新的 FSDP 实现。这可以极大地加快微调速度。要启用它,只需向 `transformers.Trainer` 添加一个 FSDP 配置即可。
from transformers import DataCollatorForLanguageModeling, Trainer, TrainingArguments

# Set up the FSDP config. To enable FSDP via SPMD, set xla_fsdp_v2 to True.
fsdp_config = {
    "fsdp_transformer_layer_cls_to_wrap": ["GemmaDecoderLayer"],
    "xla": True,
    "xla_fsdp_v2": True,
    "xla_fsdp_grad_ckpt": True
}

# Finally, set up the trainer and train the model.
trainer = Trainer(
    model=model,
    train_dataset=data,
    args=TrainingArguments(
        per_device_train_batch_size=64,  # This is actually the global batch size for SPMD.
        num_train_epochs=100,
        max_steps=-1,
        output_dir="./output",
        optim="adafactor",
        logging_steps=1,
        dataloader_drop_last = True,  # Required for SPMD.
        fsdp="full_shard",
        fsdp_config=fsdp_config,
    ),
    data_collator=DataCollatorForLanguageModeling(tokenizer, mlm=False),
)
trainer.train()
下一步
我们通过这个从源笔记本改编的简单示例,演示了应用于 Gemma 模型的 LoRA 微调方法。用于 GPU 的完整 colab 可以在这里找到,而用于 TPU 的完整脚本可以在这里找到。我们对这个开源生态系统的新成员为研究和学习带来的无限可能性感到兴奋。我们鼓励用户访问 Gemma 文档,以及我们的发布博客,以获取更多关于训练、微调和部署 Gemma 模型的示例。

