google-cloud 文档
在 GKE 上使用 TGI DLC 部署带有多个 LoRA 适配器的 Gemma2
并获得增强的文档体验
开始使用
在 GKE 上使用 TGI DLC 部署带有多个 LoRA 适配器的 Gemma2
Gemma 2 是一个先进的轻量级开放模型,它在继承其前身以及 Google DeepMind 和 Google 其他团队开发的 Gemini 模型的研究和技术基础上,提升了性能和效率。Text Generation Inference (TGI) 是 Hugging Face 开发的用于部署和提供 LLM 服务、实现高性能文本生成的工具包。Google Kubernetes Engine (GKE) 是 Google Cloud 中一项完全托管的 Kubernetes 服务,可用于使用 GCP 的基础设施大规模部署和运行容器化应用程序。
本示例展示了如何在 GKE 集群上部署来自 Hugging Face Hub 的 Gemma 2 2B 模型,并使用针对不同目的(如编码、SQL 或日语)微调的多个 LoRA 适配器,该集群运行 Hugging Face DLC for TGI,即一个专门构建的容器,用于在安全且托管的环境中部署 LLM。
设置/配置
首先,您需要在本地机器上安装 gcloud 和 kubectl,它们分别是 Google Cloud 和 Kubernetes 的命令行工具,用于与 GCP 和 GKE 集群交互。
- 要安装
gcloud,请按照 Cloud SDK 文档 - 安装 gcloud CLI 中的说明进行操作。 - 要安装
kubectl,请按照 Kubernetes 文档 - 安装工具 中的说明进行操作。
或者,为了简化本教程中命令的使用,您需要为 GCP 设置以下环境变量
export PROJECT_ID=your-project-id
export LOCATION=your-location
export CLUSTER_NAME=your-cluster-name
然后您需要登录到您的 GCP 账户,并将项目 ID 设置为您要用于部署 GKE 集群的项目。
gcloud auth login
gcloud auth application-default login  # For local development
gcloud config set project $PROJECT_ID
登录后,您需要启用 GCP 中必要的服务 API,即 Google Kubernetes Engine API 和 Google Container Registry API,它们是部署 GKE 集群和 Hugging Face DLC for TGI 所必需的。
gcloud services enable container.googleapis.com
gcloud services enable containerregistry.googleapis.com
此外,要将 kubectl 与 GKE 集群凭据一起使用,您还需要安装 gke-gcloud-auth-plugin,可以如下使用 gcloud 进行安装
gcloud components install gke-gcloud-auth-plugin
安装 gke-gcloud-auth-plugin 不需要通过 gcloud 进行特定安装,要了解更多替代安装方法,请访问 GKE 文档 - 安装 kubectl 并配置集群访问。
创建 GKE 集群
一切设置完成后,您可以继续创建 GKE 集群和节点池,本例中将是一个单 GPU 节点,以便使用 GPU 加速器实现高性能推理,这也遵循了 TGI 基于其内部 GPU 优化提出的建议。
部署 GKE 集群时,将使用“Autopilot”模式,因为它是大多数工作负载的推荐模式,因为底层基础设施由 Google 管理。或者,您也可以使用“Standard”模式。
在创建 GKE Autopilot 集群之前,务必查看 GKE 文档 - 通过选择机器系列优化 Autopilot Pod 性能,因为并非所有版本都支持 GPU 加速器,例如 GKE 集群版本 1.28.3 或更低版本不支持 nvidia-l4。
gcloud container clusters create-auto $CLUSTER_NAME \
    --project=$PROJECT_ID \
    --location=$LOCATION \
    --release-channel=stable \
    --cluster-version=1.29 \
    --no-autoprovisioning-enable-insecure-kubelet-readonly-port
要选择您所在位置的特定 GKE 集群版本,您可以运行以下命令
gcloud container get-server-config \
    --flatten="channels" \
    --filter="channels.channel=STABLE" \
    --format="yaml(channels.channel,channels.defaultVersion)" \
    --location=$LOCATION
欲了解更多信息,请访问 GKE 文档 - 指定集群版本。
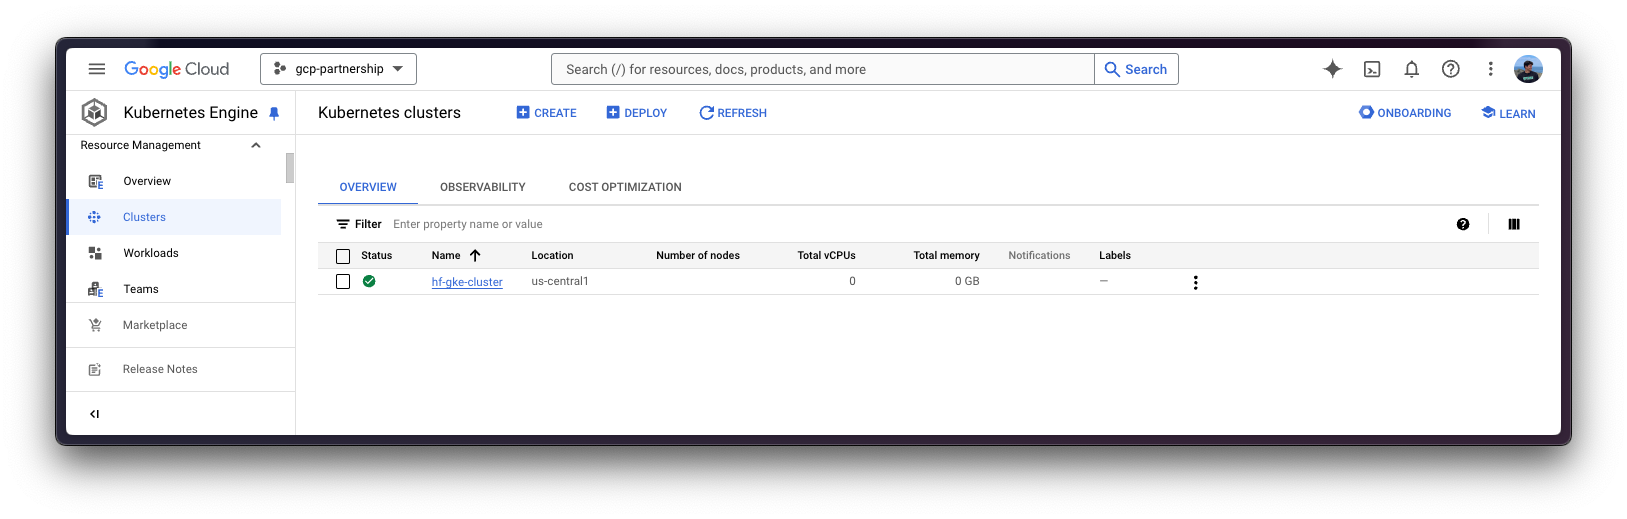
GKE 集群创建完成后,您可以使用以下命令通过 kubectl 获取访问它的凭据
gcloud container clusters get-credentials $CLUSTER_NAME --location=$LOCATION获取 Hugging Face 令牌并在 GKE 中设置密钥
由于 google/gemma-2-2b-it 是一个受限模型,您需要通过 kubectl 使用 Hugging Face Hub 令牌设置 Kubernetes 密钥。
要为 Hugging Face Hub 生成自定义令牌,您可以按照 Hugging Face Hub - 用户访问令牌 中的说明操作;建议的设置方式是按如下方式安装 huggingface_hub Python SDK:
pip install --upgrade --quiet huggingface_hub
然后使用生成的具有对受限/私有模型读取权限的令牌登录
huggingface-cli login
最后,您可以使用 huggingface_hub Python SDK 检索令牌,如下所示创建包含 Hugging Face Hub 生成令牌的 Kubernetes secret
kubectl create secret generic hf-secret \
    --from-literal=hf_token=$(python -c "from huggingface_hub import get_token; print(get_token())") \
    --dry-run=client -o yaml | kubectl apply -f -
或者,您可以直接按如下方式设置令牌
kubectl create secret generic hf-secret \
    --from-literal=hf_token=hf_*** \
    --dry-run=client -o yaml | kubectl apply -f -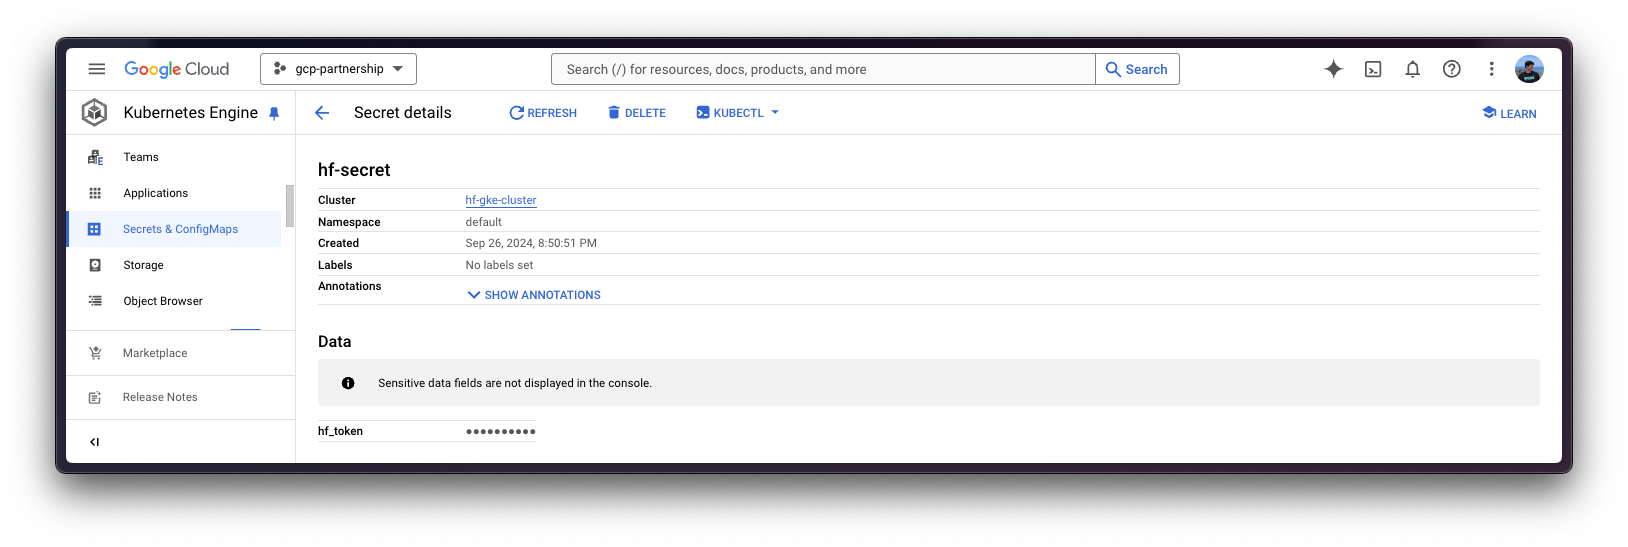
有关如何在 GKE 集群中设置 Kubernetes 密钥的更多信息,请访问 Secret Manager 文档 - 将 Secret Manager 附加组件与 Google Kubernetes Engine 结合使用。
部署 TGI
现在您可以继续进行 Hugging Face DLC for TGI 的 Kubernetes 部署,从 Hugging Face Hub 提供 google/gemma-2-2b-it 模型和在其上微调的多个 LoRA 适配器。
要探索所有可以通过 TGI 提供的模型,您可以在 Hub 中探索 标记为 text-generation-inference 的模型。
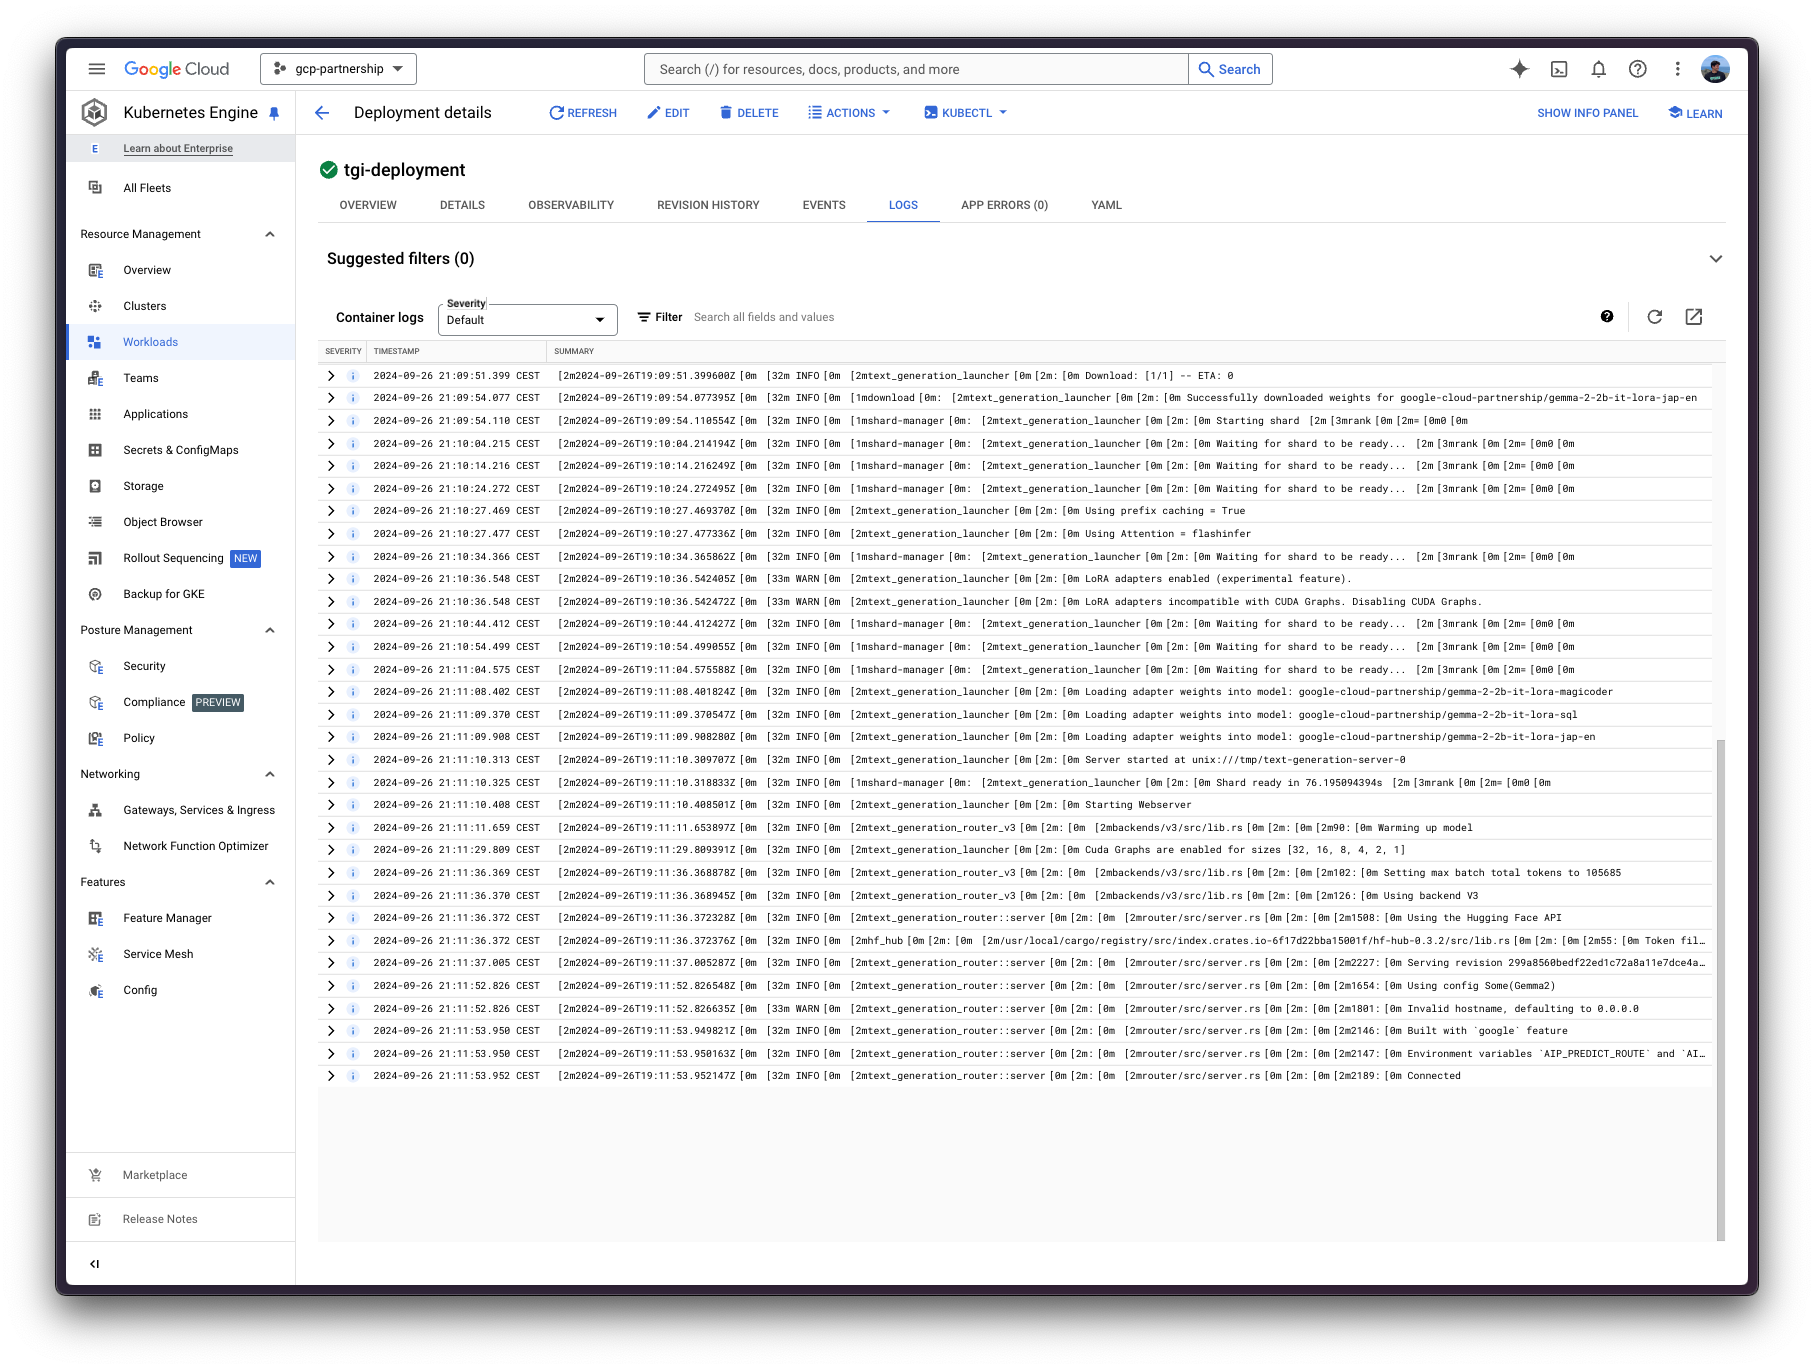
Hugging Face DLC for TGI 将通过 kubectl 从 config/ 目录中的配置文件部署
deployment.yaml:包含 Pod 的部署详情,包括对 Hugging Face DLC for TGI 的引用,将MODEL_ID设置为google/gemma-2-2b-it,将LORA_ADAPTERS设置为google-cloud-partnership/gemma-2-2b-it-lora-magicoder,google-cloud-partnership/gemma-2-2b-it-lora-sql,适配器如下:google-cloud-partnership/gemma-2-2b-it-lora-sql:使用gretelai/synthetic_text_to_sql进行微调,根据 SQL 上下文和相关提示/问题生成带解释的 SQL 查询。google-cloud-partnership/gemma-2-2b-it-lora-magicoder:使用ise-uiuc/Magicoder-OSS-Instruct-75K进行微调,根据输入问题生成多种编程语言的代码,例如 Python、Rust 或 C 等。google-cloud-partnership/gemma-2-2b-it-lora-jap-en:使用Jofthomas/japanese-english-translation进行微调,该数据集是人工生成的简短日语句子翻译成英语的数据集;用于将英语翻译成日语,反之亦然。
service.yaml:包含 Pod 的服务详细信息,暴露 TGI 服务的 8080 端口。- (可选)
ingress.yaml:包含 Pod 的 Ingress 详细信息,将服务暴露给外部世界,以便可以通过 Ingress IP 访问。
请注意,所选的 LoRA 适配器不适用于生产环境,因为这些微调适配器尚未经过广泛测试。
git clone https://github.com/huggingface/Google-Cloud-Containers
kubectl apply -f Google-Cloud-Containers/examples/gke/tgi-multi-lora-deployment/config
Kubernetes 部署可能需要几分钟才能准备就绪,您可以使用以下命令检查部署状态:
kubectl get pods
或者,您也可以使用以下命令等待部署准备就绪:
kubectl wait --for=condition=Available --timeout=700s deployment/tgi-deployment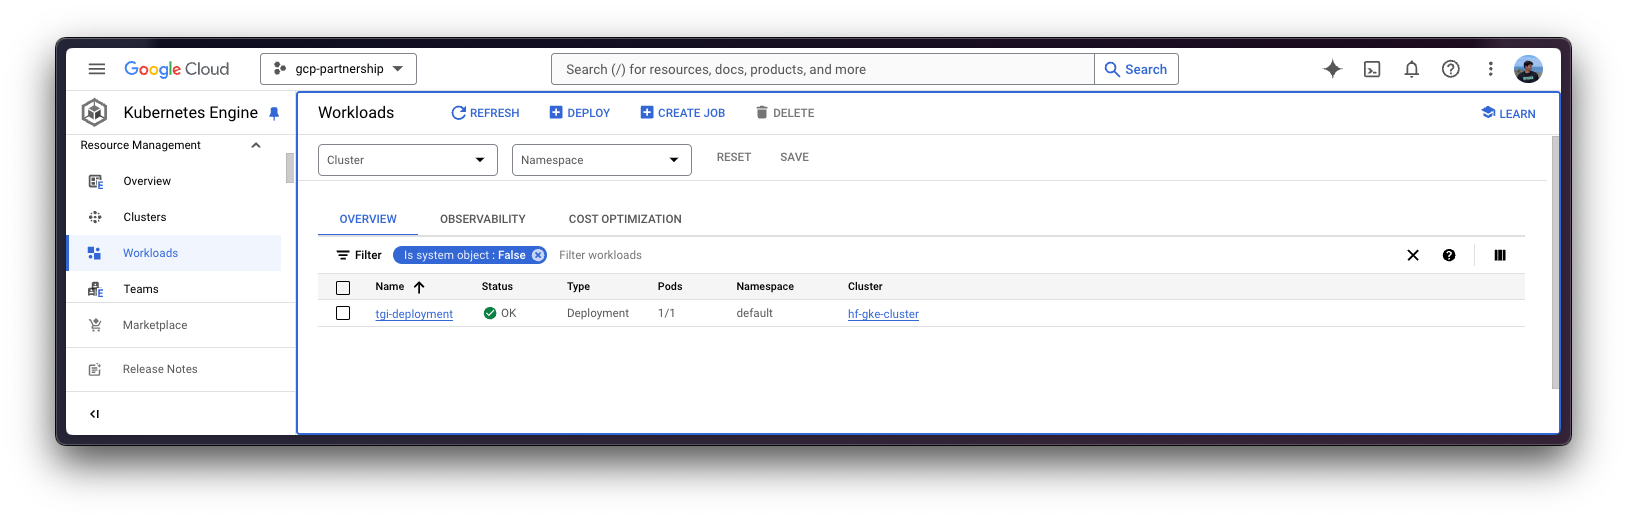
使用 TGI 进行推理
要对已部署的 TGI 服务进行推理,您需要首先确保该服务可访问,您可以通过以下两种方式实现:
将已部署的 TGI 服务端口转发到 8080 端口,以便通过
localhost访问,命令如下:kubectl port-forward service/tgi-service 8080:8080
通过 ingress 的外部 IP 访问 TGI 服务,这是这里的默认场景,因为您已在
config/ingress.yaml文件中定义了 ingress 配置(但可以跳过而选择端口转发),可以通过以下命令检索:kubectl get ingress tgi-ingress -o jsonpath='{.status.loadBalancer.ingress[0].ip}'
通过 cURL
要使用 `cURL` 向 TGI 服务发送 POST 请求,您可以运行以下命令:
curl https://:8080/v1/chat/completions \
    -X POST \
    -d '{"messages":[{"role":"user","content":"What is Deep Learning?"}],"temperature":0.7,"top_p":0.95,"max_tokens":128}}' \
    -H 'Content-Type: application/json'
或者向 ingress IP 发送 POST 请求:
curl http://$(kubectl get ingress tgi-ingress -o jsonpath='{.status.loadBalancer.ingress[0].ip}')/v1/chat/completions \
    -X POST \
    -d '{"messages":[{"role":"user","content":"What is Deep Learning?"}],"temperature":0.7,"top_p":0.95,"max_tokens":128}}' \
    -H 'Content-Type: application/json'
由于在这种情况下您正在提供多个 LoRA 适配器,要使用它们,您需要在使用 /v1/chat/completions 端点(或使用 /generate 端点时使用 adapter_id 参数)时指定 model 参数,以便使用 LoRA 适配器。在任何其他情况下,将使用基础模型,这意味着适配器仅在明确指定时才使用。
例如,假设您想要为无法解决的问题生成一段代码,那么您应该理想地使用专门为此目的微调的适配器 google-cloud-partnership/gemma-2-2b-it-lora-magicoder;或者,您也可以使用基础指令微调模型,因为它可能能够处理各种任务,但例如,日语到英语的模型不适合该任务。
curl https://:8080/v1/chat/completions \
    -X POST \
    -d '{"messages":[{"role":"user","content":"You are given a vector of integers, A, of length n. Your task is to implement a function that finds the maximum product of any two distinct elements in the vector. Write a function in Rust to return this maximum product. Function Signature: rust fn max_product(a: Vec<i32>) -> i32  Input: - A vector a of length n (2 <= n <= 10^5), where each element is an integer (-10^4 <= a[i] <= 10^4). Output: - Return the maximum product of two distinct elements. Example: Input: a = vec![1, 5, 3, 9] Output: max_product(a) -> 45"}],"temperature":0.7,"top_p":0.95,"max_tokens":256,"model":"google-cloud-partnership/gemma-2-2b-it-lora-magicoder"}}' \
    -H 'Content-Type: application/json'
这会生成给定提示的以下解决方案:
{"object":"chat.completion","id":"","created":1727378101,"model":"google/gemma-2-2b-it","system_fingerprint":"2.3.1-dev0-native","choices":[{"index":0,"message":{"role":"assistant","content":"\`\`\`rust\nfn max_product(a: Vec<i32>) -> i32 {\n let mut max1 = a[0];\n let mut max2 = a[1];\n if max2 < max1 {\n std::mem::swap(&mut max1, &mut max2);\n }\n for i in 2..a.len() {\n if a[i] > max1 {\n max2 = max1;\n max1 = a[i];\n } else if a[i] > max2 {\n "},"logprobs":null,"finish_reason":"length"}],"usage":{"prompt_tokens":163,"completion_tokens":128,"total_tokens":291}}翻译成 Rust 代码将是:
fn max_product(a: Vec<i32>) -> i32 {
    if a.len() < 2 {
        return 0;
    }
    let mut max_product = a[0] * a[1];
    for i in 1..a.len() {
        for j in i + 1..a.len() {
            if a[i] * a[j] > max_product {
                max_product = a[i] * a[j];
            }
        }
    }
    max_product
}
通过 Python
要使用 Python 进行推理,您可以使用 `huggingface_hub` Python SDK(推荐)或 `openai` Python SDK。
在下面的示例中将使用 localhost,但如果使用 ingress 部署了 TGI,请随意使用上述 ingress IP(无需指定端口)。
huggingface_hub
您可以通过 pip 安装它,命令为 pip install --upgrade --quiet huggingface_hub,然后运行以下代码片段来模拟上述 cURL 命令,即通过 model 参数向 Messages API 发送请求,提供适配器标识符:
from huggingface_hub import InferenceClient

client = InferenceClient(base_url="https://:8080", api_key="-")

chat_completion = client.chat.completions.create(
    model="google-cloud-partnership/gemma-2-2b-it-lora-magicoder",
    messages=[
        {"role": "user", "content": "You are given a vector of integers, A, of length n. Your task is to implement a function that finds the maximum product of any two distinct elements in the vector. Write a function in Rust to return this maximum product. Function Signature: rust fn max_product(a: Vec<i32>) -> i32  Input: - A vector a of length n (2 <= n <= 10^5), where each element is an integer (-10^4 <= a[i] <= 10^4). Output: - Return the maximum product of two distinct elements. Example: Input: a = vec![1, 5, 3, 9] Output: max_product(a) -> 45"},
    ],
    max_tokens=128,
)
或者,您也可以自行格式化提示,并通过 Text Generation API 发送,提供 adapter_id 参数,如下所示:
from huggingface_hub import InferenceClient

client = InferenceClient("https://:8080", api_key="-")

generation = client.text_generation(
    prompt="You are given a vector of integers, A, of length n. Your task is to implement a function that finds the maximum product of any two distinct elements in the vector. Write a function in Rust to return this maximum product. Function Signature: rust fn max_product(a: Vec<i32>) -> i32  Input: - A vector a of length n (2 <= n <= 10^5), where each element is an integer (-10^4 <= a[i] <= 10^4). Output: - Return the maximum product of two distinct elements. Example: Input: a = vec![1, 5, 3, 9] Output: max_product(a) -> 45",
    max_new_tokens=128,
    adapter_id="google-cloud-partnership/gemma-2-2b-it-lora-magicoder",
)
openai
此外,您还可以通过 openai 使用 Messages API;您可以通过 pip 安装它,命令为 pip install --upgrade openai,然后运行:
from openai import OpenAI

client = OpenAI(
    base_url="https://:8080/v1/",
    api_key="-",
)

chat_completion = client.chat.completions.create(
    model="google-cloud-partnership/gemma-2-2b-it-lora-magicoder",
    messages=[
        {"role": "user", "content": "You are given a vector of integers, A, of length n. Your task is to implement a function that finds the maximum product of any two distinct elements in the vector. Write a function in Rust to return this maximum product. Function Signature: rust fn max_product(a: Vec<i32>) -> i32  Input: - A vector a of length n (2 <= n <= 10^5), where each element is an integer (-10^4 <= a[i] <= 10^4). Output: - Return the maximum product of two distinct elements. Example: Input: a = vec![1, 5, 3, 9] Output: max_product(a) -> 45"},
    ],
    max_tokens=128,
)
删除 GKE 集群
最后,一旦您完成在 GKE 集群上使用 TGI,您可以安全地删除 GKE 集群以避免产生不必要的费用。
gcloud container clusters delete $CLUSTER_NAME --location=$LOCATION或者,如果您想保留集群,也可以将已部署的 Pod 的副本数缩减到 0,因为默认情况下部署的 GKE 集群在 GKE Autopilot 模式下只运行一个 e2-small 实例。
kubectl scale --replicas=0 deployment/tgi-deployment
📍 完整示例请在 GitHub 上找到 此处!