google-cloud 文档
在 Vertex AI 上部署带有 PyTorch 推理 DLC 的 BERT 模型
并获得增强的文档体验
开始使用
在 Vertex AI 上部署带有 PyTorch 推理 DLC 的 BERT 模型
DistilBERT 是一种小巧、快速、廉价、轻量级的 Transformer 模型,通过蒸馏 BERT 训练而成。BERT 是一种双向 Transformer,使用掩码语言建模目标和下一句预测的组合在大规模语料库上进行预训练。Google Vertex AI 是一个机器学习 (ML) 平台,可让您训练和部署 ML 模型和 AI 应用程序,并自定义大型语言模型 (LLM) 以用于您的 AI 驱动应用程序。
本示例展示了如何在 Vertex AI 上使用 Google Cloud Platform (GCP) 中提供的 PyTorch 推理 DLC(在 CPU 和 GPU 实例中均可用)部署 Hugging Face Hub 中任何受支持的 PyTorch 模型,本例中为 distilbert/distilbert-base-uncased-finetuned-sst-2-english。
设置/配置
首先,您需要按照 Cloud SDK 文档 - 安装 gcloud CLI 中的说明,在本地机器上安装 gcloud,这是 Google Cloud 的命令行工具。
然后,您还需要安装 google-cloud-aiplatform Python SDK,这是以编程方式创建 Vertex AI 模型、注册模型、创建端点并在 Vertex AI 上部署模型所需的。
!pip install --upgrade --quiet google-cloud-aiplatform
或者,为了简化本教程中命令的使用,您需要为 GCP 设置以下环境变量
%env PROJECT_ID=your-project-id
%env LOCATION=your-location
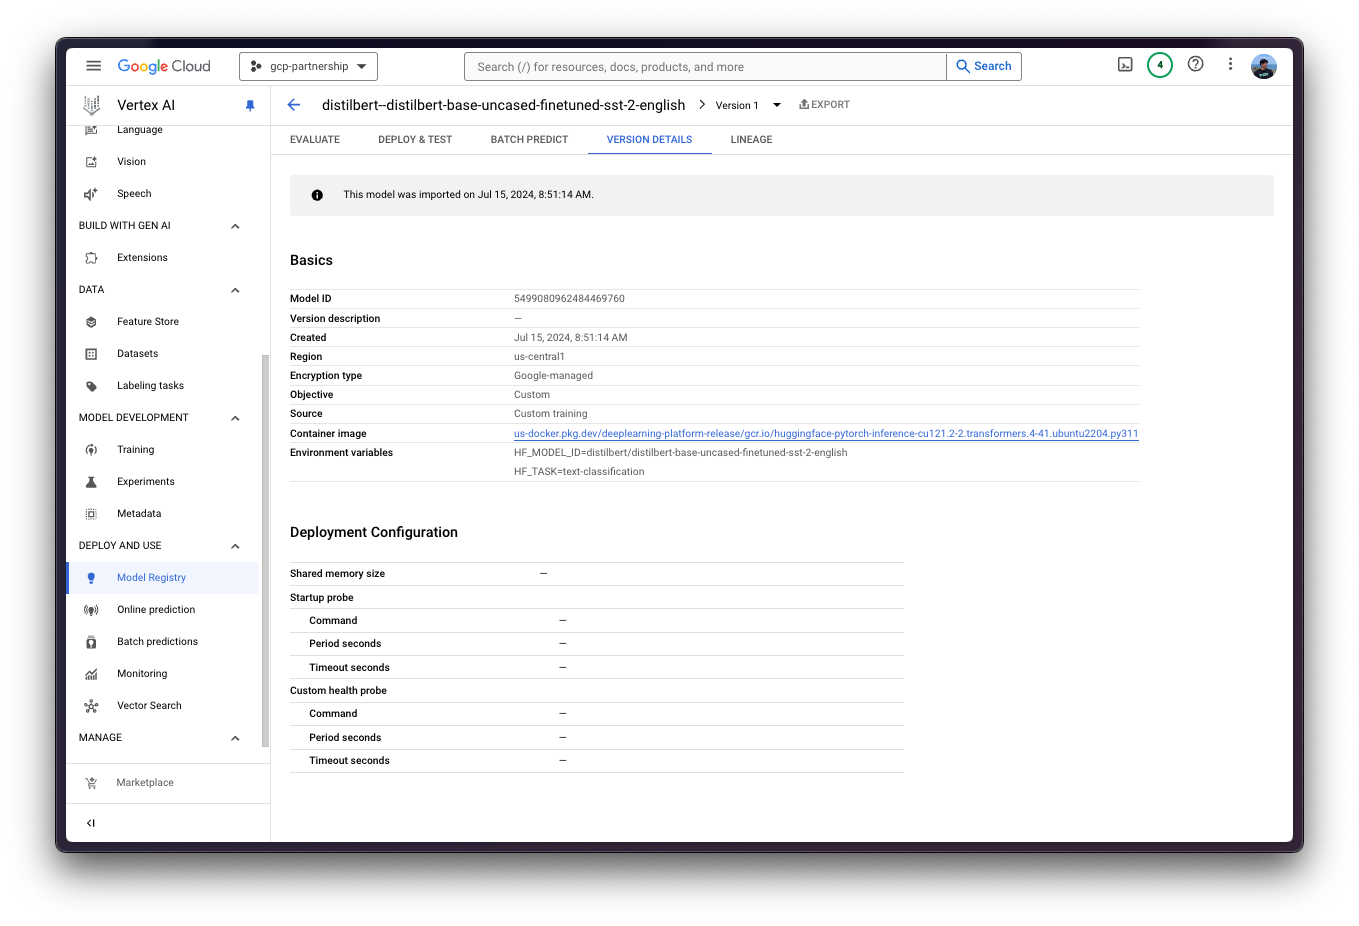
%env CONTAINER_URI=us-docker.pkg.dev/deeplearning-platform-release/gcr.io/huggingface-pytorch-inference-cu121.2-2.transformers.4-44.ubuntu2204.py311然后您需要登录您的 GCP 帐户,并将项目 ID 设置为您想要用于在 Vertex AI 上注册和部署模型的项目 ID。
!gcloud auth login
!gcloud auth application-default login  # For local development
!gcloud config set project $PROJECT_ID
登录后,您需要启用 GCP 中必要的服务 API,例如 Vertex AI API、Compute Engine API 和 Google Container Registry 相关 API。
!gcloud services enable aiplatform.googleapis.com
!gcloud services enable compute.googleapis.com
!gcloud services enable container.googleapis.com
!gcloud services enable containerregistry.googleapis.com
!gcloud services enable containerfilesystem.googleapis.com
在 Vertex AI 中注册模型
一切设置完成后,您就可以通过 google-cloud-aiplatform Python SDK 初始化 Vertex AI 会话,如下所示
import os
from google.cloud import aiplatform

aiplatform.init(
    project=os.getenv("PROJECT_ID"),
    location=os.getenv("LOCATION"),
)
然后,您就可以“上传”模型,即在 Vertex AI 上注册模型了。这本身不是一个上传,因为模型将通过 HF_MODEL_ID 环境变量在启动时自动从 Hugging Face Hub 中的 Hugging Face PyTorch DLC 下载以进行推理,因此上传的只是配置,而不是模型权重。
在深入代码之前,我们先快速回顾一下提供给 upload 方法的参数
display_name是将在 Vertex AI 模型注册表中显示的名称。serving_container_image_uri是 Hugging Face PyTorch 推理 DLC 的位置,将用于模型服务。serving_container_environment_variables是容器运行时将使用的环境变量,这些变量与 huggingface-inference-toolkit Python SDK 定义的环境变量对齐,该 SDK 公开了一些环境变量,例如:HF_MODEL_ID是 Hugging Face Hub 中模型的标识符。要探索所有受支持的模型,请访问 https://huggingface.co/models?sort=trending,并根据您要使用的任务(例如text-classification)进行筛选。HF_TASK是 Hugging Face Hub 中的任务标识符。要查看所有受支持的任务,请访问 https://huggingface.co/docs/transformers/en/task_summary#natural-language-processing。
有关受支持的 aiplatform.Model.upload 参数的更多信息,请查阅其 Python 参考文档:https://cloud.google.com/python/docs/reference/aiplatform/latest/google.cloud.aiplatform.Model#google_cloud_aiplatform_Model_upload。
model = aiplatform.Model.upload(
    display_name="distilbert--distilbert-base-uncased-finetuned-sst-2-english",
    serving_container_image_uri=os.getenv("CONTAINER_URI"),
    serving_container_environment_variables={
        "HF_MODEL_ID": "distilbert/distilbert-base-uncased-finetuned-sst-2-english",
        "HF_TASK": "text-classification",
    },
)
model.wait()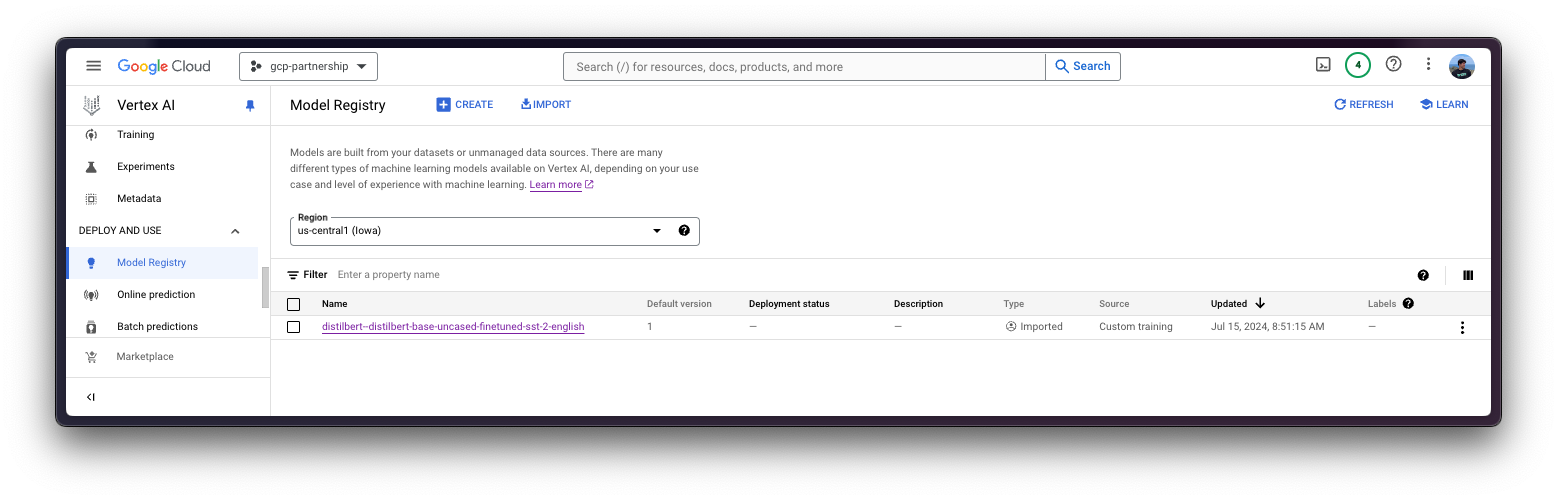
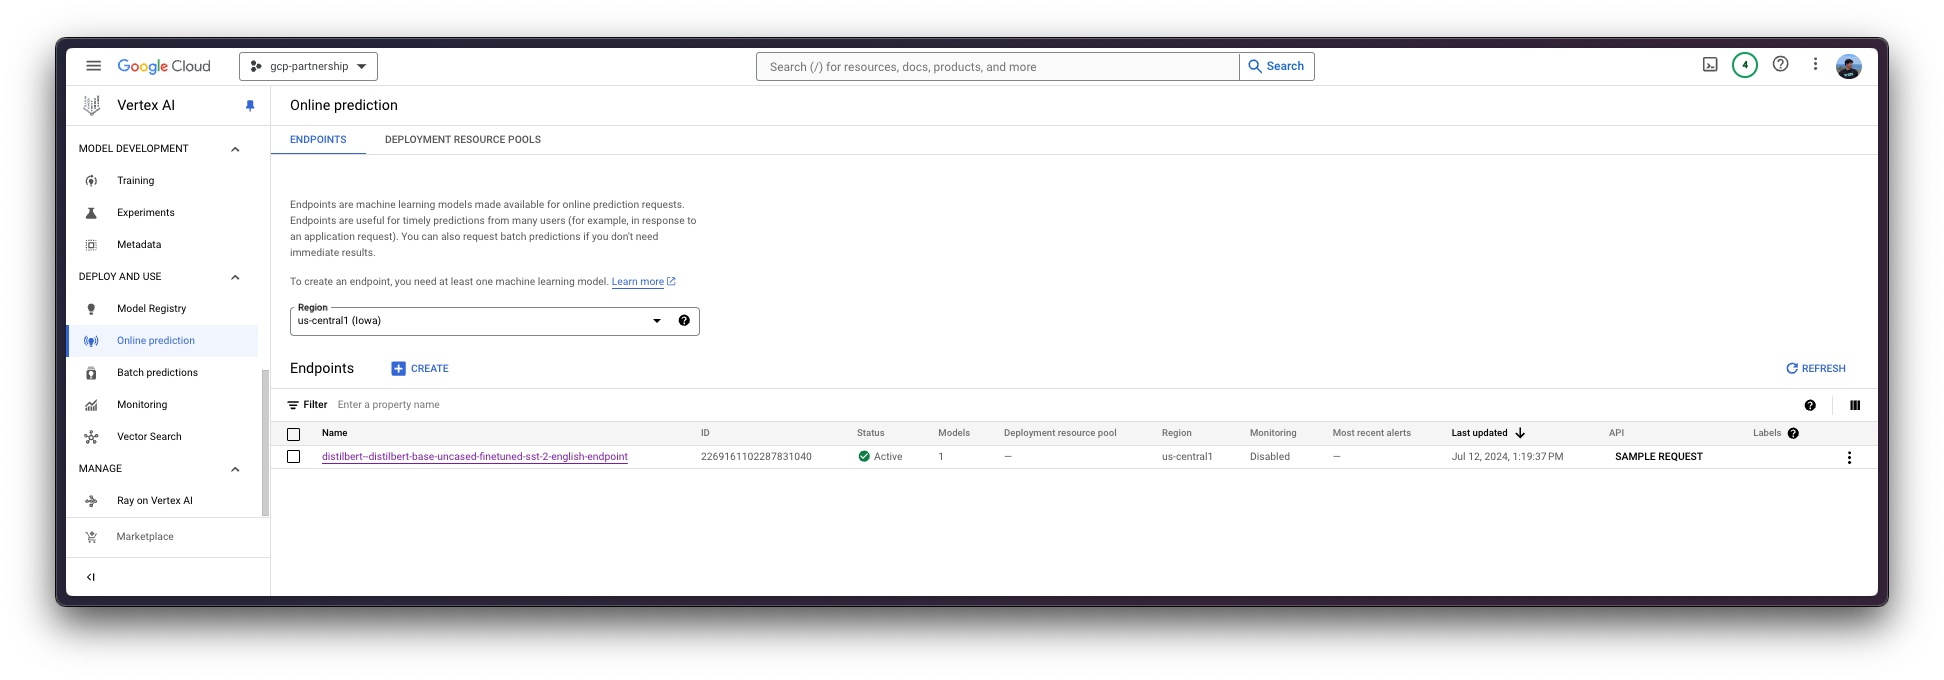
在 Vertex AI 中部署模型
在 Vertex AI 上注册模型后,您需要定义要将模型部署到的端点,然后将模型部署链接到该端点资源。
为此,您需要调用 aiplatform.Endpoint.create 方法来创建一个新的 Vertex AI 端点资源(该资源尚未链接到模型或任何可用的东西)。
endpoint = aiplatform.Endpoint.create(
    display_name="distilbert--distilbert-base-uncased-finetuned-sst-2-english-endpoint"
)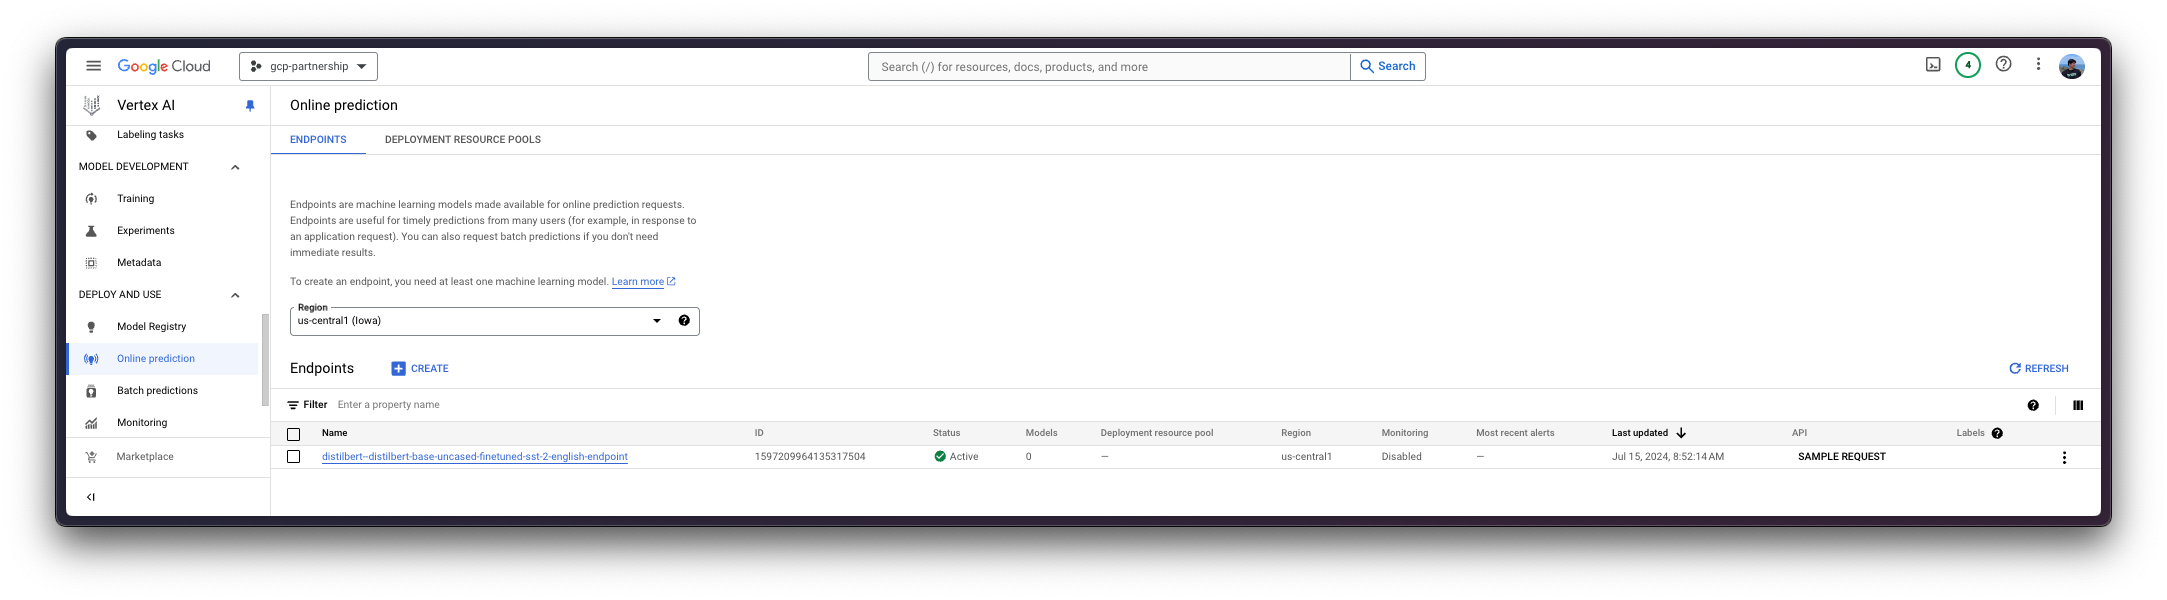
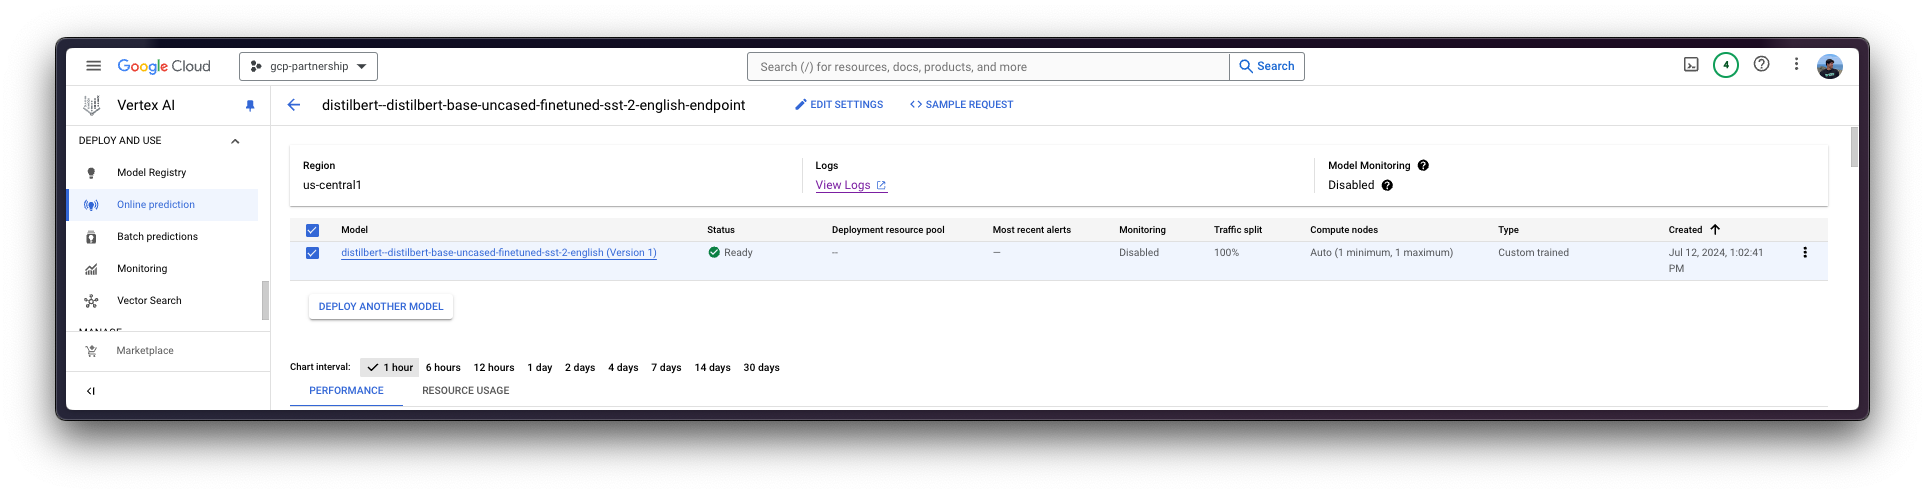
现在您可以在 Vertex AI 上的端点中部署已注册的模型。
deploy 方法会将之前创建的端点资源与包含服务容器配置的模型链接起来,然后将其部署到指定实例的 Vertex AI 上。
在进入代码之前,让我们快速回顾一下提供给deploy方法的参数
endpoint是要将模型部署到的端点,它是可选的,默认情况下将设置为模型显示名称加上_endpoint后缀。machine_type、accelerator_type和accelerator_count是定义要使用的实例、要使用的加速器以及加速器数量的参数。machine_type和accelerator_type是相互关联的,因此您需要选择一个支持您正在使用的加速器的实例,反之亦然。有关不同实例的更多信息,请访问 Compute Engine 文档 - GPU 机器类型,有关accelerator_type命名的更多信息,请访问 Vertex AI 文档 - MachineSpec。
有关受支持的 aiplatform.Model.deploy 参数的更多信息,您可以查看其 Python 参考文档:https://cloud.google.com/python/docs/reference/aiplatform/latest/google.cloud.aiplatform.Model#google_cloud_aiplatform_Model_deploy。
deployed_model = model.deploy(
    endpoint=endpoint,
    machine_type="g2-standard-12",
    accelerator_type="NVIDIA_L4",
    accelerator_count=1,
)
通过 deploy 方法部署 Vertex AI 端点可能需要 15 到 25 分钟。
Vertex AI 上的在线预测
最后,您可以使用 predict 方法在 Vertex AI 上运行在线预测,该方法将按照 Vertex AI I/O 有效负载格式将请求发送到容器内指定的 /predict 路由。
output = deployed_model.predict(instances=["I love this product", "I hate this product"], parameters={"top_k": 2})
print(output.predictions[0])
这将为提供的每个实例生成以下输出,即第一个句子的标签为 POSITIVE,第二个句子的标签为 NEGATIVE,因为它们分别是每个输出实例中分数较高的标签
[[{'score': 0.9998788833618164, 'label': 'POSITIVE'},
  {'score': 0.0001210561968036927, 'label': 'NEGATIVE'}],
 [{'score': 0.9997544884681702, 'label': 'NEGATIVE'},
  {'score': 0.0002454846107866615, 'label': 'POSITIVE'}]
资源清理
最后,您可以在同一个 Python 会话中以编程方式释放资源,如下所示:
deployed_model.undeploy_all用于从所有端点取消部署模型。deployed_model.delete在undeploy_all之后优雅地删除部署模型的端点。model.delete用于从注册表中删除模型。
deployed_model.undeploy_all()
deployed_model.delete()
model.delete()
📍 在 GitHub 上找到完整的示例 此处!