google-cloud 文档
在 Vertex AI 上使用 TGI DLC 部署 Llama 3.2 11B Vision
并获得增强的文档体验
开始使用
在 Vertex AI 上使用 TGI DLC 部署 Llama 3.2 11B Vision
Llama 3.2 是 Meta 发布(截至 2024 年 10 月)的 Llama 系列最新开源 LLM;Llama 3.2 Vision 有两种大小:11B 用于在消费级 GPU 上高效部署和开发,90B 用于大规模应用。Text Generation Inference (TGI) 是 Hugging Face 开发的用于部署和提供 LLM 的工具包,具有高性能文本生成。Google Vertex AI 是一个机器学习 (ML) 平台,可让您训练和部署 ML 模型和 AI 应用程序,并自定义大型语言模型 (LLM) 以用于您的 AI 驱动应用程序。
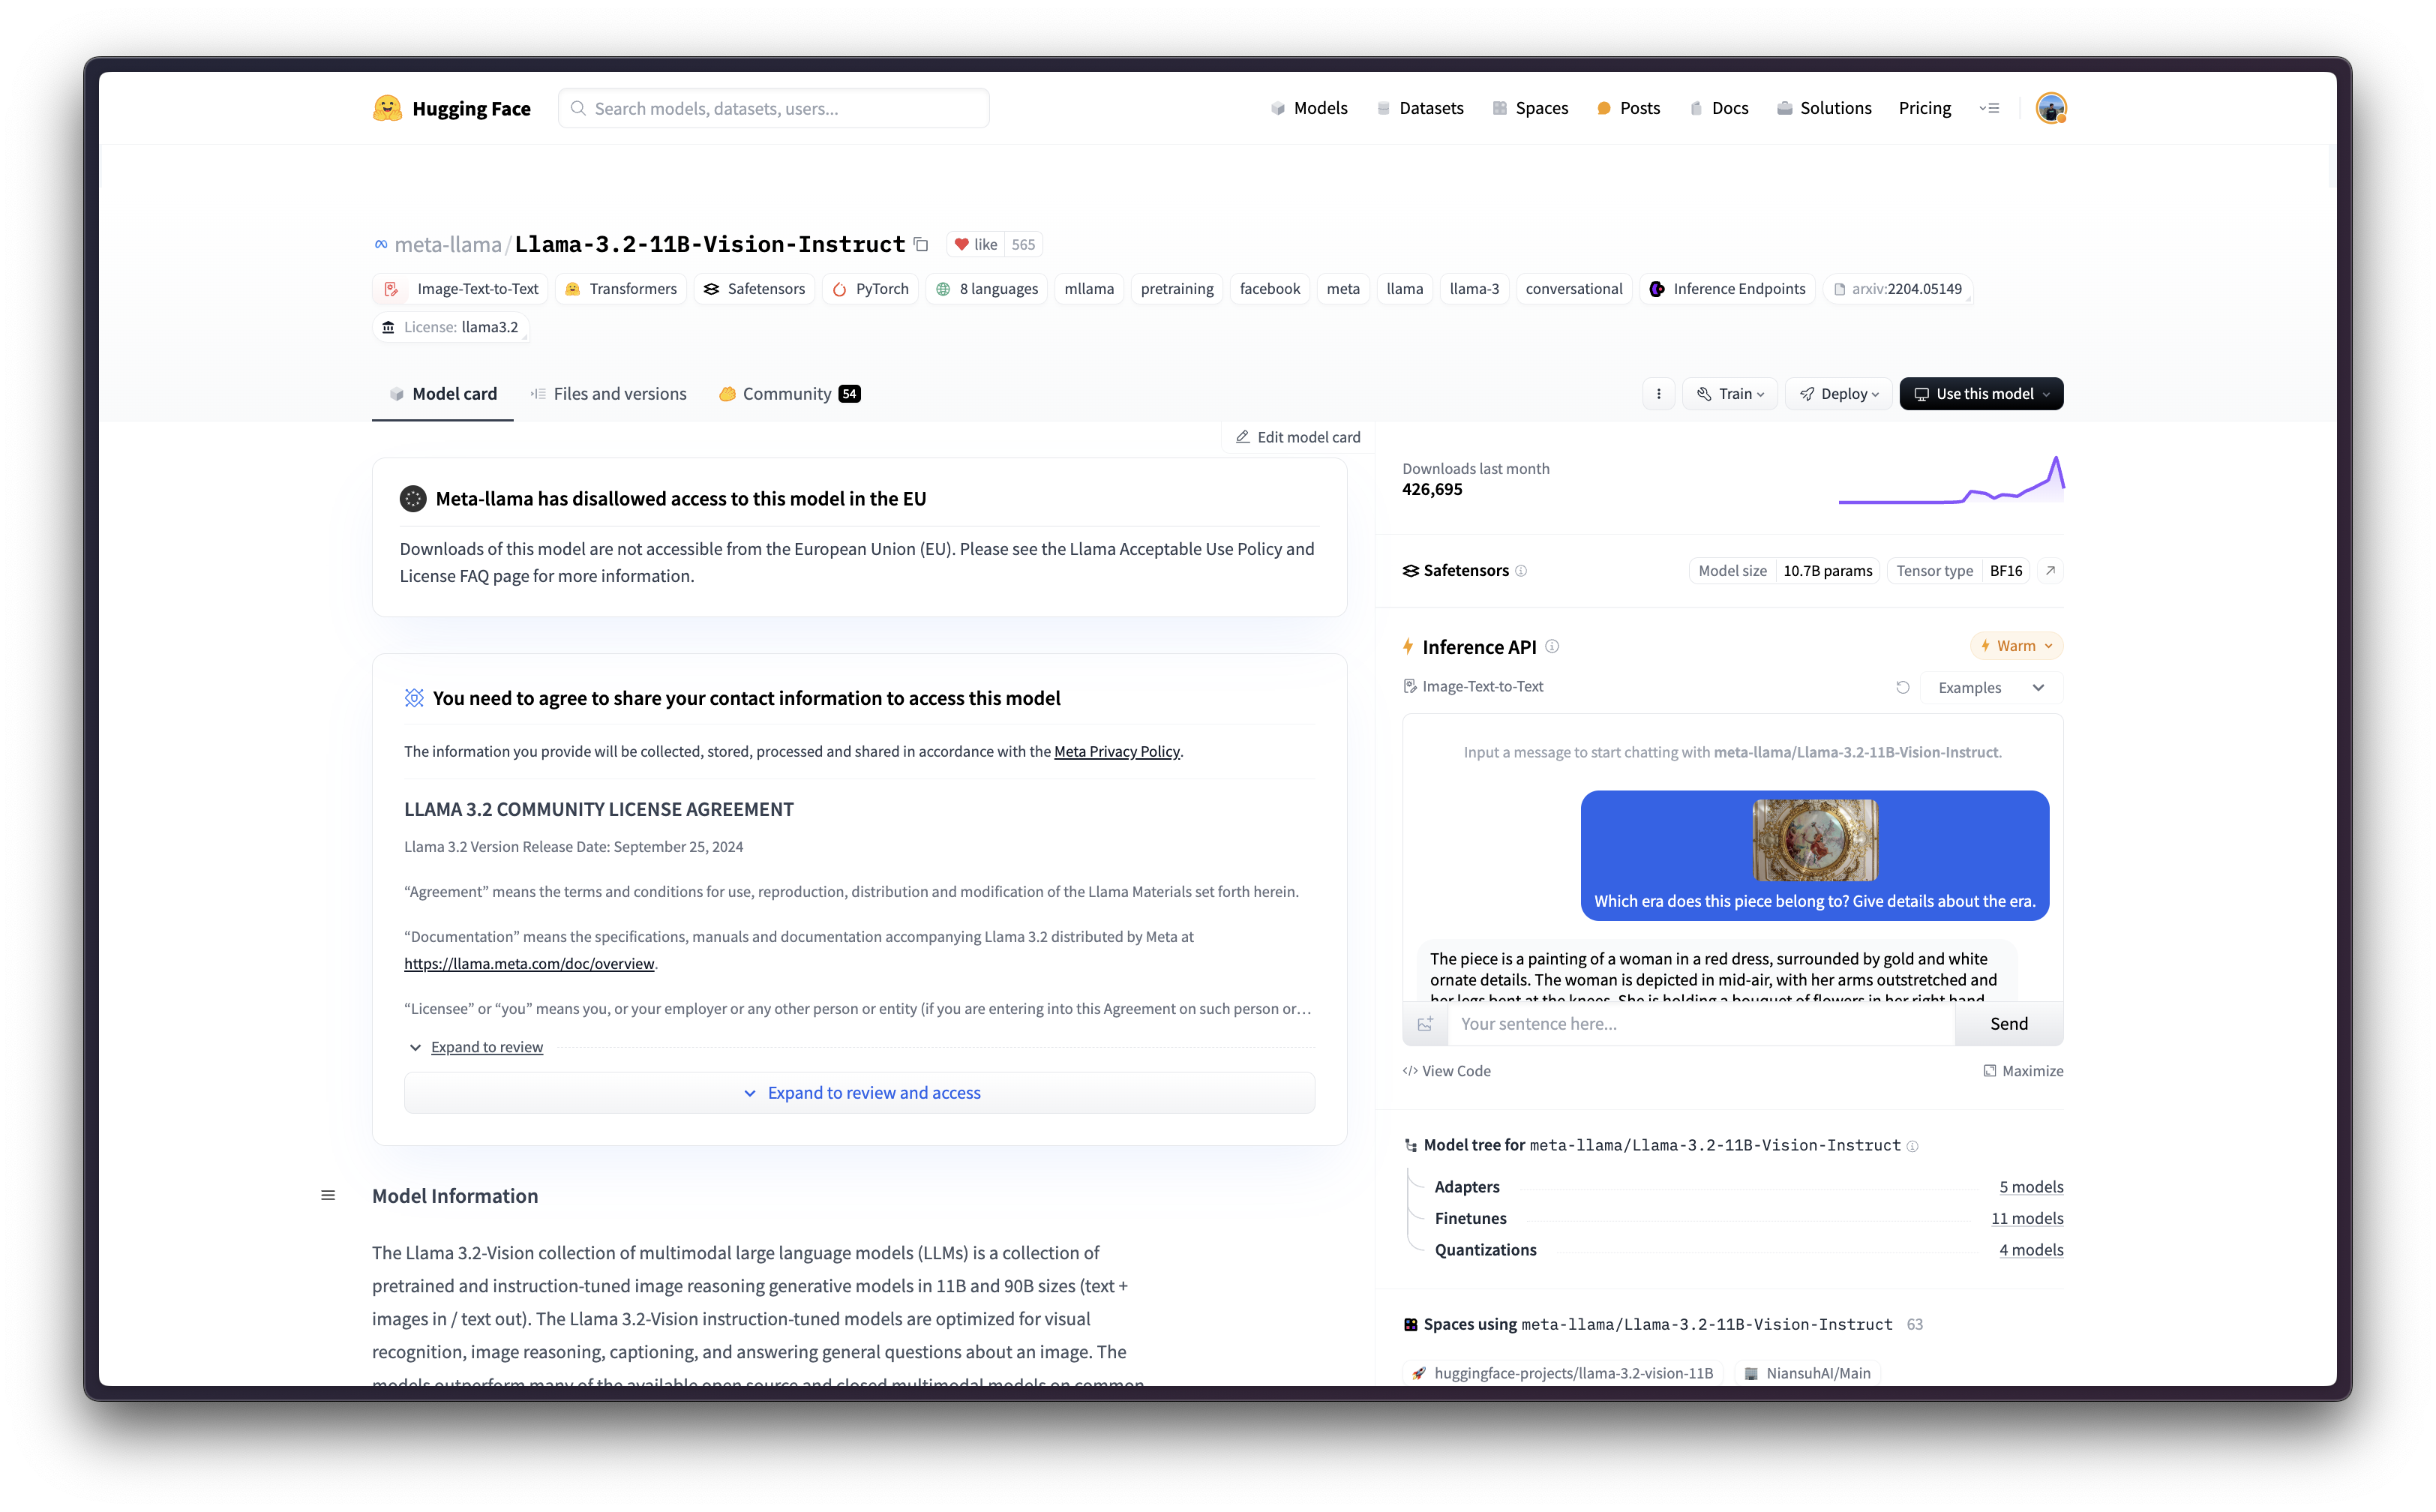
本示例展示了如何通过 Hugging Face 专为 Google Cloud 上的文本生成推理 (TGI) 构建的深度学习容器 (DLC) 在 Vertex AI 上部署 meta-llama/Llama-3.2-11B-Vision-Instruct。
关于许可条款,Llama 3.2 的许可与 Llama 3.1 非常相似,但可接受使用策略有一个关键区别:任何居住在欧盟 (EU) 或主要营业地在欧盟的公司均未被授予使用 Llama 3.2 中包含的多模态模型的许可权利。此限制不适用于包含任何此类多模态模型的产品或服务的最终用户,因此人们仍然可以使用视觉变体构建全球产品。
设置 / 配置
首先,您需要在本地机器上安装 gcloud,这是 Google Cloud 的命令行工具,请按照 Cloud SDK 文档 - 安装 gcloud CLI 中的说明进行操作。
然后,您还需要安装 google-cloud-aiplatform Python SDK,这是以编程方式创建 Vertex AI 模型、注册模型、创建端点并在 Vertex AI 上部署模型所需的。
!pip install --upgrade --quiet google-cloud-aiplatform
或者,为了简化本教程中命令的使用,您需要为 GCP 设置以下环境变量
%env PROJECT_ID=your-project-id
%env LOCATION=your-location
%env CONTAINER_URI=us-docker.pkg.dev/deeplearning-platform-release/gcr.io/huggingface-text-generation-inference-cu124.2-3.ubuntu2204.py311
然后您需要登录您的 GCP 帐户,并将项目 ID 设置为您想要用于在 Vertex AI 上注册和部署模型的项目 ID。
!gcloud auth login
!gcloud auth application-default login  # For local development
!gcloud config set project $PROJECT_ID
登录后,您需要启用 GCP 中必要的服务 API,例如 Vertex AI API、Compute Engine API 和 Google Container Registry 相关 API。
!gcloud services enable aiplatform.googleapis.com
!gcloud services enable compute.googleapis.com
!gcloud services enable container.googleapis.com
!gcloud services enable containerregistry.googleapis.com
!gcloud services enable containerfilesystem.googleapis.com
一切设置完成后,您就可以通过 google-cloud-aiplatform Python SDK 初始化 Vertex AI 会话,如下所示
import os
from google.cloud import aiplatform

aiplatform.init(
    project=os.getenv("PROJECT_ID"),
    location=os.getenv("LOCATION"),
)
在 Vertex AI 上注册模型
由于 meta-llama/Llama-3.2-11B-Vision-Instruct 是一个受欧盟 (EU) 限制访问的门控模型,这意味着您需要接受许可协议。
要生成 Hugging Face Hub 的令牌,您可以按照 Hugging Face Hub - 用户访问令牌 中的说明进行操作;生成的令牌可以是细粒度以访问模型,也可以是您帐户的整体只读访问权限。
!pip install --upgrade --quiet huggingface_hub
from huggingface_hub import interpreter_login

interpreter_login()
然后您就可以“上传”模型,即在 Vertex AI 上注册模型。这不是真正的上传,因为模型将通过 MODEL_ID 环境变量在启动时从 Hugging Face Hub 自动下载到 Hugging Face DLC for TGI 中,因此上传的只是配置,而不是模型权重。
在深入代码之前,我们先快速回顾一下提供给 upload 方法的参数
display_name是将在 Vertex AI 模型注册表中显示的名称。serving_container_image_uri是将用于服务模型的 Hugging Face DLC for TGI 的位置。serving_container_environment_variables是将在容器运行时使用的环境变量,因此这些变量与text-generation-inference定义的环境变量一致,它们类似于text-generation-launcher参数。此外,Hugging Face DLC for TGI 还捕获 Vertex AI 的AIP_环境变量,如 Vertex AI 文档 - 预测的自定义容器要求 中所述。MODEL_ID是 Hugging Face Hub 中模型的标识符。要探索所有受支持的模型,您可以查看 在 Hugging Face Hub 中标记为text-generation-inference的模型。NUM_SHARD是要使用的分片数量,如果您不想使用给定机器上的所有 GPU(例如,如果您有两个 GPU 但只想使用一个用于 TGI,则NUM_SHARD=1,否则它与CUDA_VISIBLE_DEVICES匹配)。MAX_INPUT_TOKENS是允许的最大输入长度(以 token 数量表示),它越大,提示词可以越大,但也会消耗更多的内存。MAX_TOTAL_TOKENS是最重要的设置值,因为它定义了运行客户端请求的“内存预算”,该值越大,每个请求在 RAM 中占用的量就越大,批处理效率就越低。MAX_BATCH_PREFILL_TOKENS限制预填充操作的 token 数量,因为它占用内存最多且受计算限制,因此限制可以发送的请求数量是很有趣的。HF_HUB_ENABLE_HF_TRANSFER用于通过 hf_transfer 库实现更快的下载速度。HUGGING_FACE_HUB_TOKEN是 Hugging Face Hub 令牌,需要它是因为meta-llama/Llama-3.2-11B-Vision-Instruct是一个在欧盟 (EU) 受到限制访问的门控模型。此外,您需要指定在 TGI 2.3.0 版本中引入的
MESSAGES_API_ENABLED环境变量,因为处理输入有效负载中的文本和图像都需要 Messages API。MESSAGES_API_ENABLED设置为“true”以使用 Messages API(即/v1/chat/completions),而不是 Generation API(即/generation)(默认)。
(可选)
serving_container_ports是 Vertex AI 端点将暴露的端口,默认为 8080。
有关受支持参数的更多信息,您可以查看 aiplatform.Model.upload Python 参考。
请注意,MESSAGES_API_ENABLED 标志仅从 TGI 2.3 DLC(即 us-docker.pkg.dev/deeplearning-platform-release/gcr.io/huggingface-text-generation-inference-cu124.2-3.ubuntu2204.py311)及更高版本中有效。
对于之前的版本,MESSAGES_API_ENABLED 标志将不起作用,因为它是在以下 TGI PR 中引入的,不兼容的版本包括:
us-docker.pkg.dev/deeplearning-platform-release/gcr.io/huggingface-text-generation-inference-cu121.1-4.ubuntu2204.py310us-docker.pkg.dev/deeplearning-platform-release/gcr.io/huggingface-text-generation-inference-cu121.2-0.ubuntu2204.py310us-docker.pkg.dev/deeplearning-platform-release/gcr.io/huggingface-text-generation-inference-cu121.2-1.ubuntu2204.py310us-docker.pkg.dev/deeplearning-platform-release/gcr.io/huggingface-text-generation-inference-cu121.2-2.ubuntu2204.py310
from huggingface_hub import get_token

model = aiplatform.Model.upload(
    display_name="Llama-Vision-11B",
    serving_container_image_uri=os.getenv("CONTAINER_URI"),
    serving_container_environment_variables={
        "MODEL_ID": "meta-llama/Llama-3.2-11B-Vision-Instruct",
        "NUM_SHARD": "2",
        "MAX_INPUT_TOKENS": "512",
        "MAX_TOTAL_TOKENS": "1024",
        "MAX_BATCH_PREFILL_TOKENS": "1512",
        "HF_HUB_ENABLE_HF_TRANSFER": "1",
        "HUGGING_FACE_HUB_TOKEN": get_token(),
        "MESSAGES_API_ENABLED": "true",
    },
    serving_container_ports=[8080],
)
model.wait()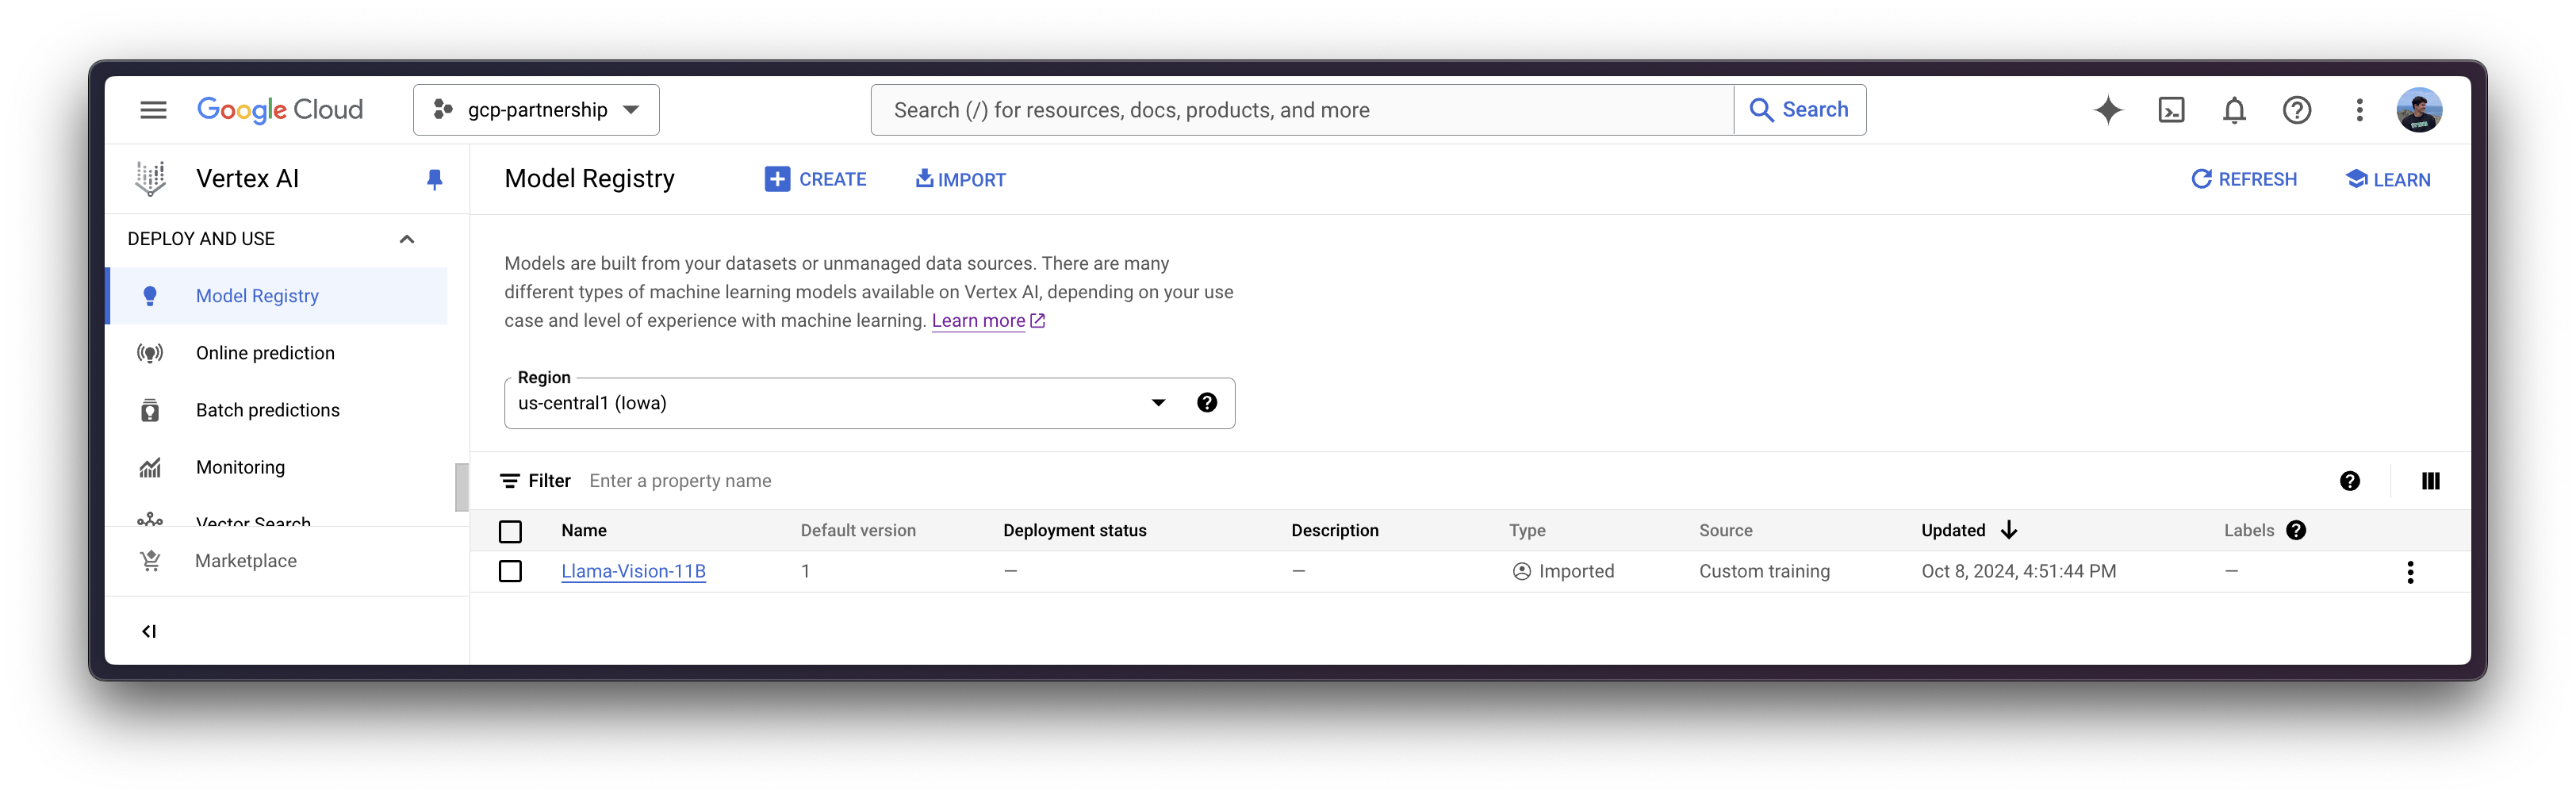
在 Vertex AI 上部署模型
在 Vertex AI 上注册模型后,您需要定义要将模型部署到的端点,然后将模型部署链接到该端点资源。
为此,您需要调用 aiplatform.Endpoint.create 方法来创建一个新的 Vertex AI 端点资源(该资源尚未链接到模型或任何可用的东西)。
endpoint = aiplatform.Endpoint.create(display_name="Llama-Vision-11B-API")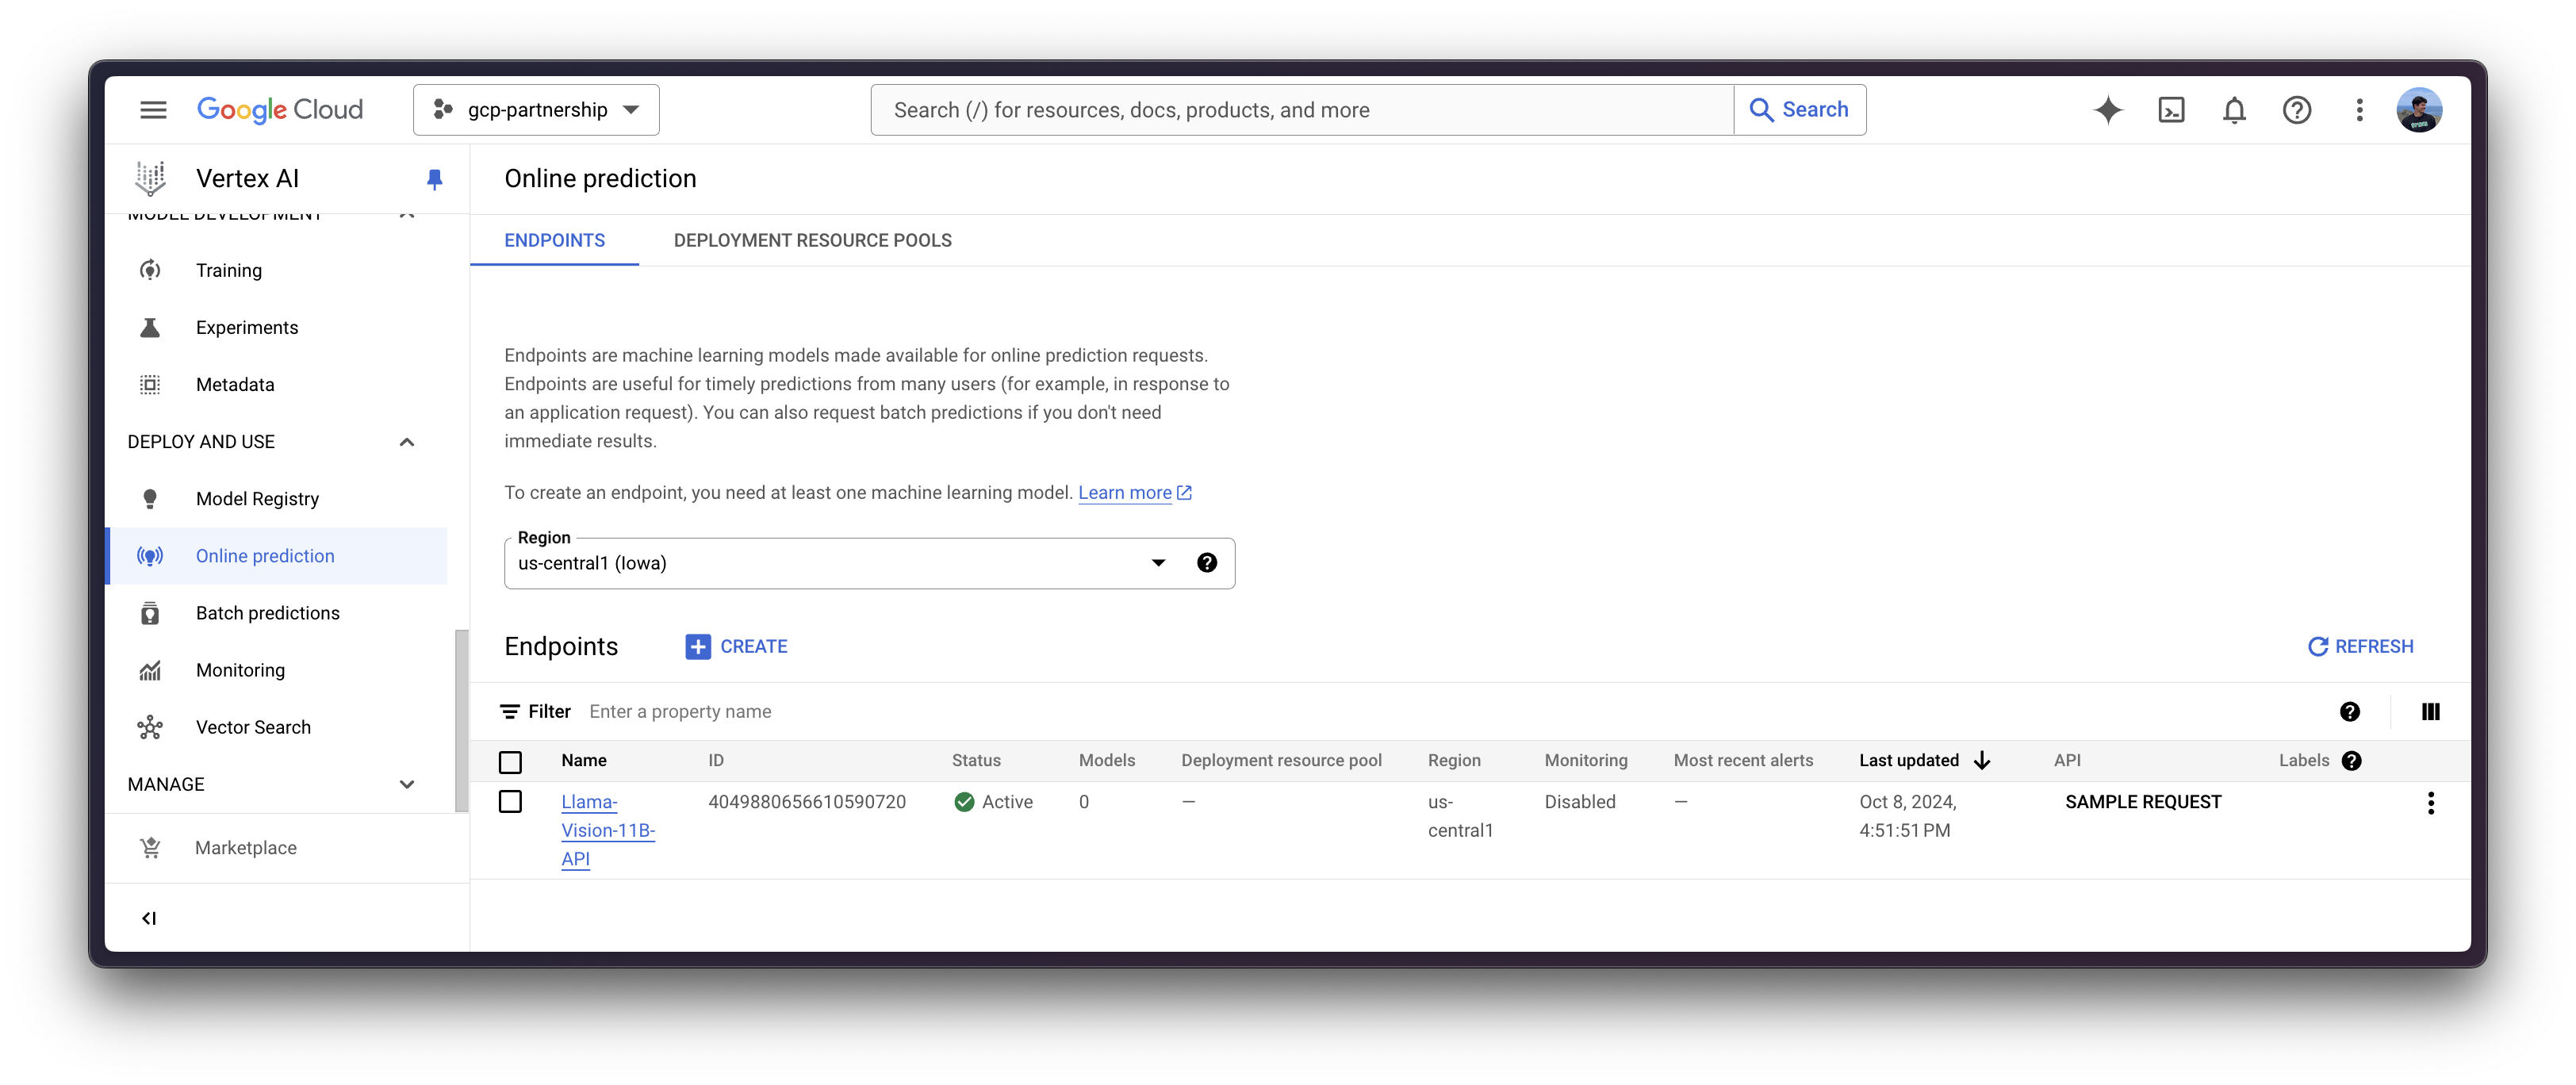
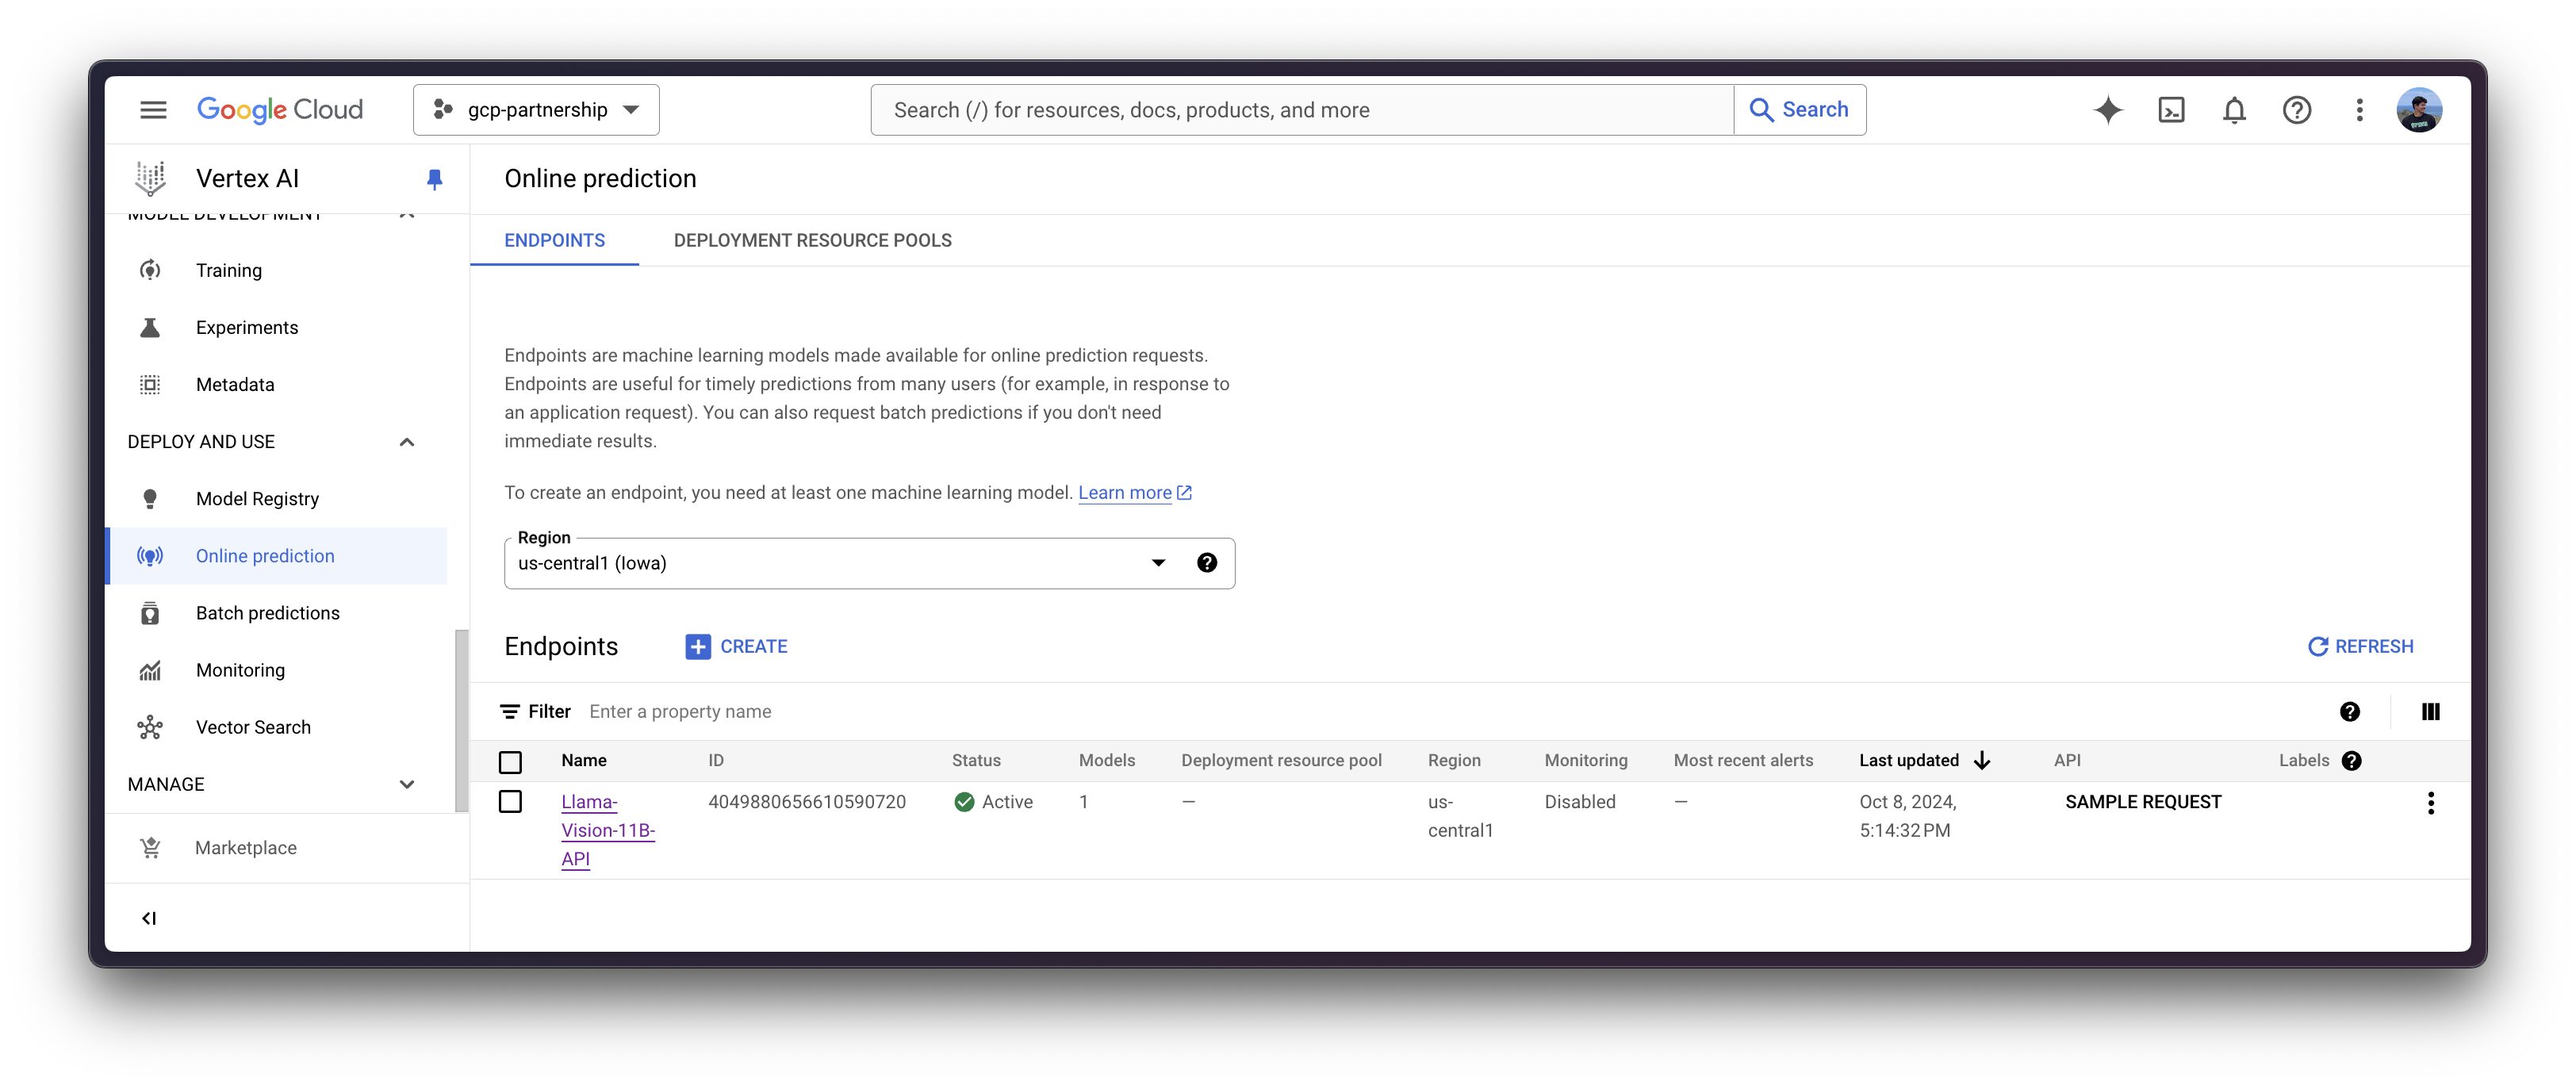
现在您可以在 Vertex AI 上的端点中部署已注册的模型。
deploy 方法会将之前创建的端点资源与包含服务容器配置的模型链接起来,然后将其部署到指定实例的 Vertex AI 上。
在深入代码之前,我们先快速回顾一下提供给 deploy 方法的参数
endpoint是要将模型部署到的端点,它是可选的,默认情况下将设置为模型显示名称加上_endpoint后缀。machine_type、accelerator_type和accelerator_count是定义要使用的实例、加速器和加速器数量的参数。machine_type和accelerator_type是绑定的,因此您需要选择一个支持您正在使用的加速器的实例,反之亦然。有关不同实例的更多信息,请参阅 Compute Engine 文档 - GPU 机器类型,有关accelerator_type命名方式的更多信息,请参阅 Vertex AI 文档 - MachineSpec。
有关受支持参数的更多信息,您可以查看 aiplatform.Model.deploy Python 参考。
deployed_model = model.deploy(
    endpoint=endpoint,
    machine_type="g2-standard-24",
    accelerator_type="NVIDIA_L4",
    accelerator_count=2,
)警告:通过 deploy 方法部署 Vertex AI 端点可能需要 15 到 25 分钟。
Vertex AI 上的在线预测
最后,您可以使用 predict 方法在 Vertex AI 上运行在线预测,该方法将根据 Vertex AI I/O 有效负载格式,向容器内指定的 /predict 路由发送请求。
请注意,输入有效负载与标准文本生成推理 (TGI) 有所不同,因为 meta-llama/Llama-3.2-11B-Vision-Instruct 是一个视觉语言模型 (VLM),这些模型同时消耗文本和图像。更多信息请参见 TGI 中的视觉语言模型推理。
通过 Python
在同一会话中
如果您希望在当前会话中运行在线预测,可以通过 aiplatform.Endpoint(由 aiplatform.Model.deploy 方法返回)以编程方式发送请求,如下所示
output = deployed_model.predict(
    instances=[
        {
            "messages": [
                {
                    "role": "user",
                    "content": [
                        {"type": "text", "text": "What's in this image?"},
                        {
                            "type": "image_url",
                            "image_url": {
                                "url": "https://huggingface.co/datasets/huggingface/documentation-images/resolve/main/transformers/rabbit.png"
                            },
                        },
                    ],
                },
            ],
            "parameters": {
                "max_new_tokens": 256,
                "do_sample": True,
                "top_p": 0.95,
                "temperature": 1.0,
                "stream": False,
            },
        },
    ],
)
print(output.predictions[0]) | 该图片描绘了一只穿着宇航服的人形兔子,形象生动,它正站立在一个多岩石的异星球上。 |
从不同会话
如果在不同的会话中部署了 Vertex AI 端点,并且您想使用它但无法访问 aiplatform.Model.deploy 方法返回的 deployed_model 变量(如上一节所示);您也可以运行以下代码片段,通过其资源名称(如 projects/{PROJECT_ID}/locations/{LOCATION}/endpoints/{ENDPOINT_ID})实例化已部署的 aiplatform.Endpoint。
请注意,您需要通过 Google Cloud 控制台自行检索资源名称(即 projects/{PROJECT_ID}/locations/{LOCATION}/endpoints/{ENDPOINT_ID} URL),或者只需替换下面的 ENDPOINT_ID,该 ID 可以通过之前实例化的端点(例如 endpoint.id)或通过 Google Cloud 控制台中的“在线预测”列表找到。
import os
from google.cloud import aiplatform

aiplatform.init(project=os.getenv("PROJECT_ID"), location=os.getenv("LOCATION"))

endpoint_display_name = "Llama-Vision-11B-API"  # TODO: change to your endpoint display name

# Iterates over all the Vertex AI Endpoints within the current project and keeps the first match (if any), otherwise set to None
ENDPOINT_ID = next(
    (endpoint.name for endpoint in aiplatform.Endpoint.list() if endpoint.display_name == endpoint_display_name), None
)
assert ENDPOINT_ID, (
    "`ENDPOINT_ID` is not set, please make sure that the `endpoint_display_name` is correct at "
    f"https://console.cloud.google.com/vertex-ai/online-prediction/endpoints?project={os.getenv('PROJECT_ID')}"
)

endpoint = aiplatform.Endpoint(
    f"projects/{os.getenv('PROJECT_ID')}/locations/{os.getenv('LOCATION')}/endpoints/{ENDPOINT_ID}"
)
output = endpoint.predict(
    instances=[
        {
            "messages": [
                {
                    "role": "user",
                    "content": [
                        {
                            "type": "text",
                            "text": "How long does it take from invoice date to due date? Be short and concise.",
                        },
                        {
                            "type": "image_url",
                            "image_url": {
                                "url": "https://huggingface.co/datasets/huggingface/release-assets/resolve/main/invoice.png"
                            },
                        },
                    ],
                },
            ],
            "parameters": {
                "max_new_tokens": 256,
                "do_sample": True,
                "top_p": 0.95,
                "temperature": 1.0,
                "stream": False,
            },
        },
    ],
)
print(output.predictions[0]) | 为了计算发票日期和到期日之间的天数差异,我们需要从到期日中减去发票日期。 发票日期:2019 年 11 月 2 日 到期日:2019 年 2 月 26 日 时间差 = 到期日 - 发票日期 时间差 = 2019 年 2 月 26 日 - 2019 年 11 月 2 日 时间差 = 15 天 因此,从发票日期到到期日需要 15 天。 |
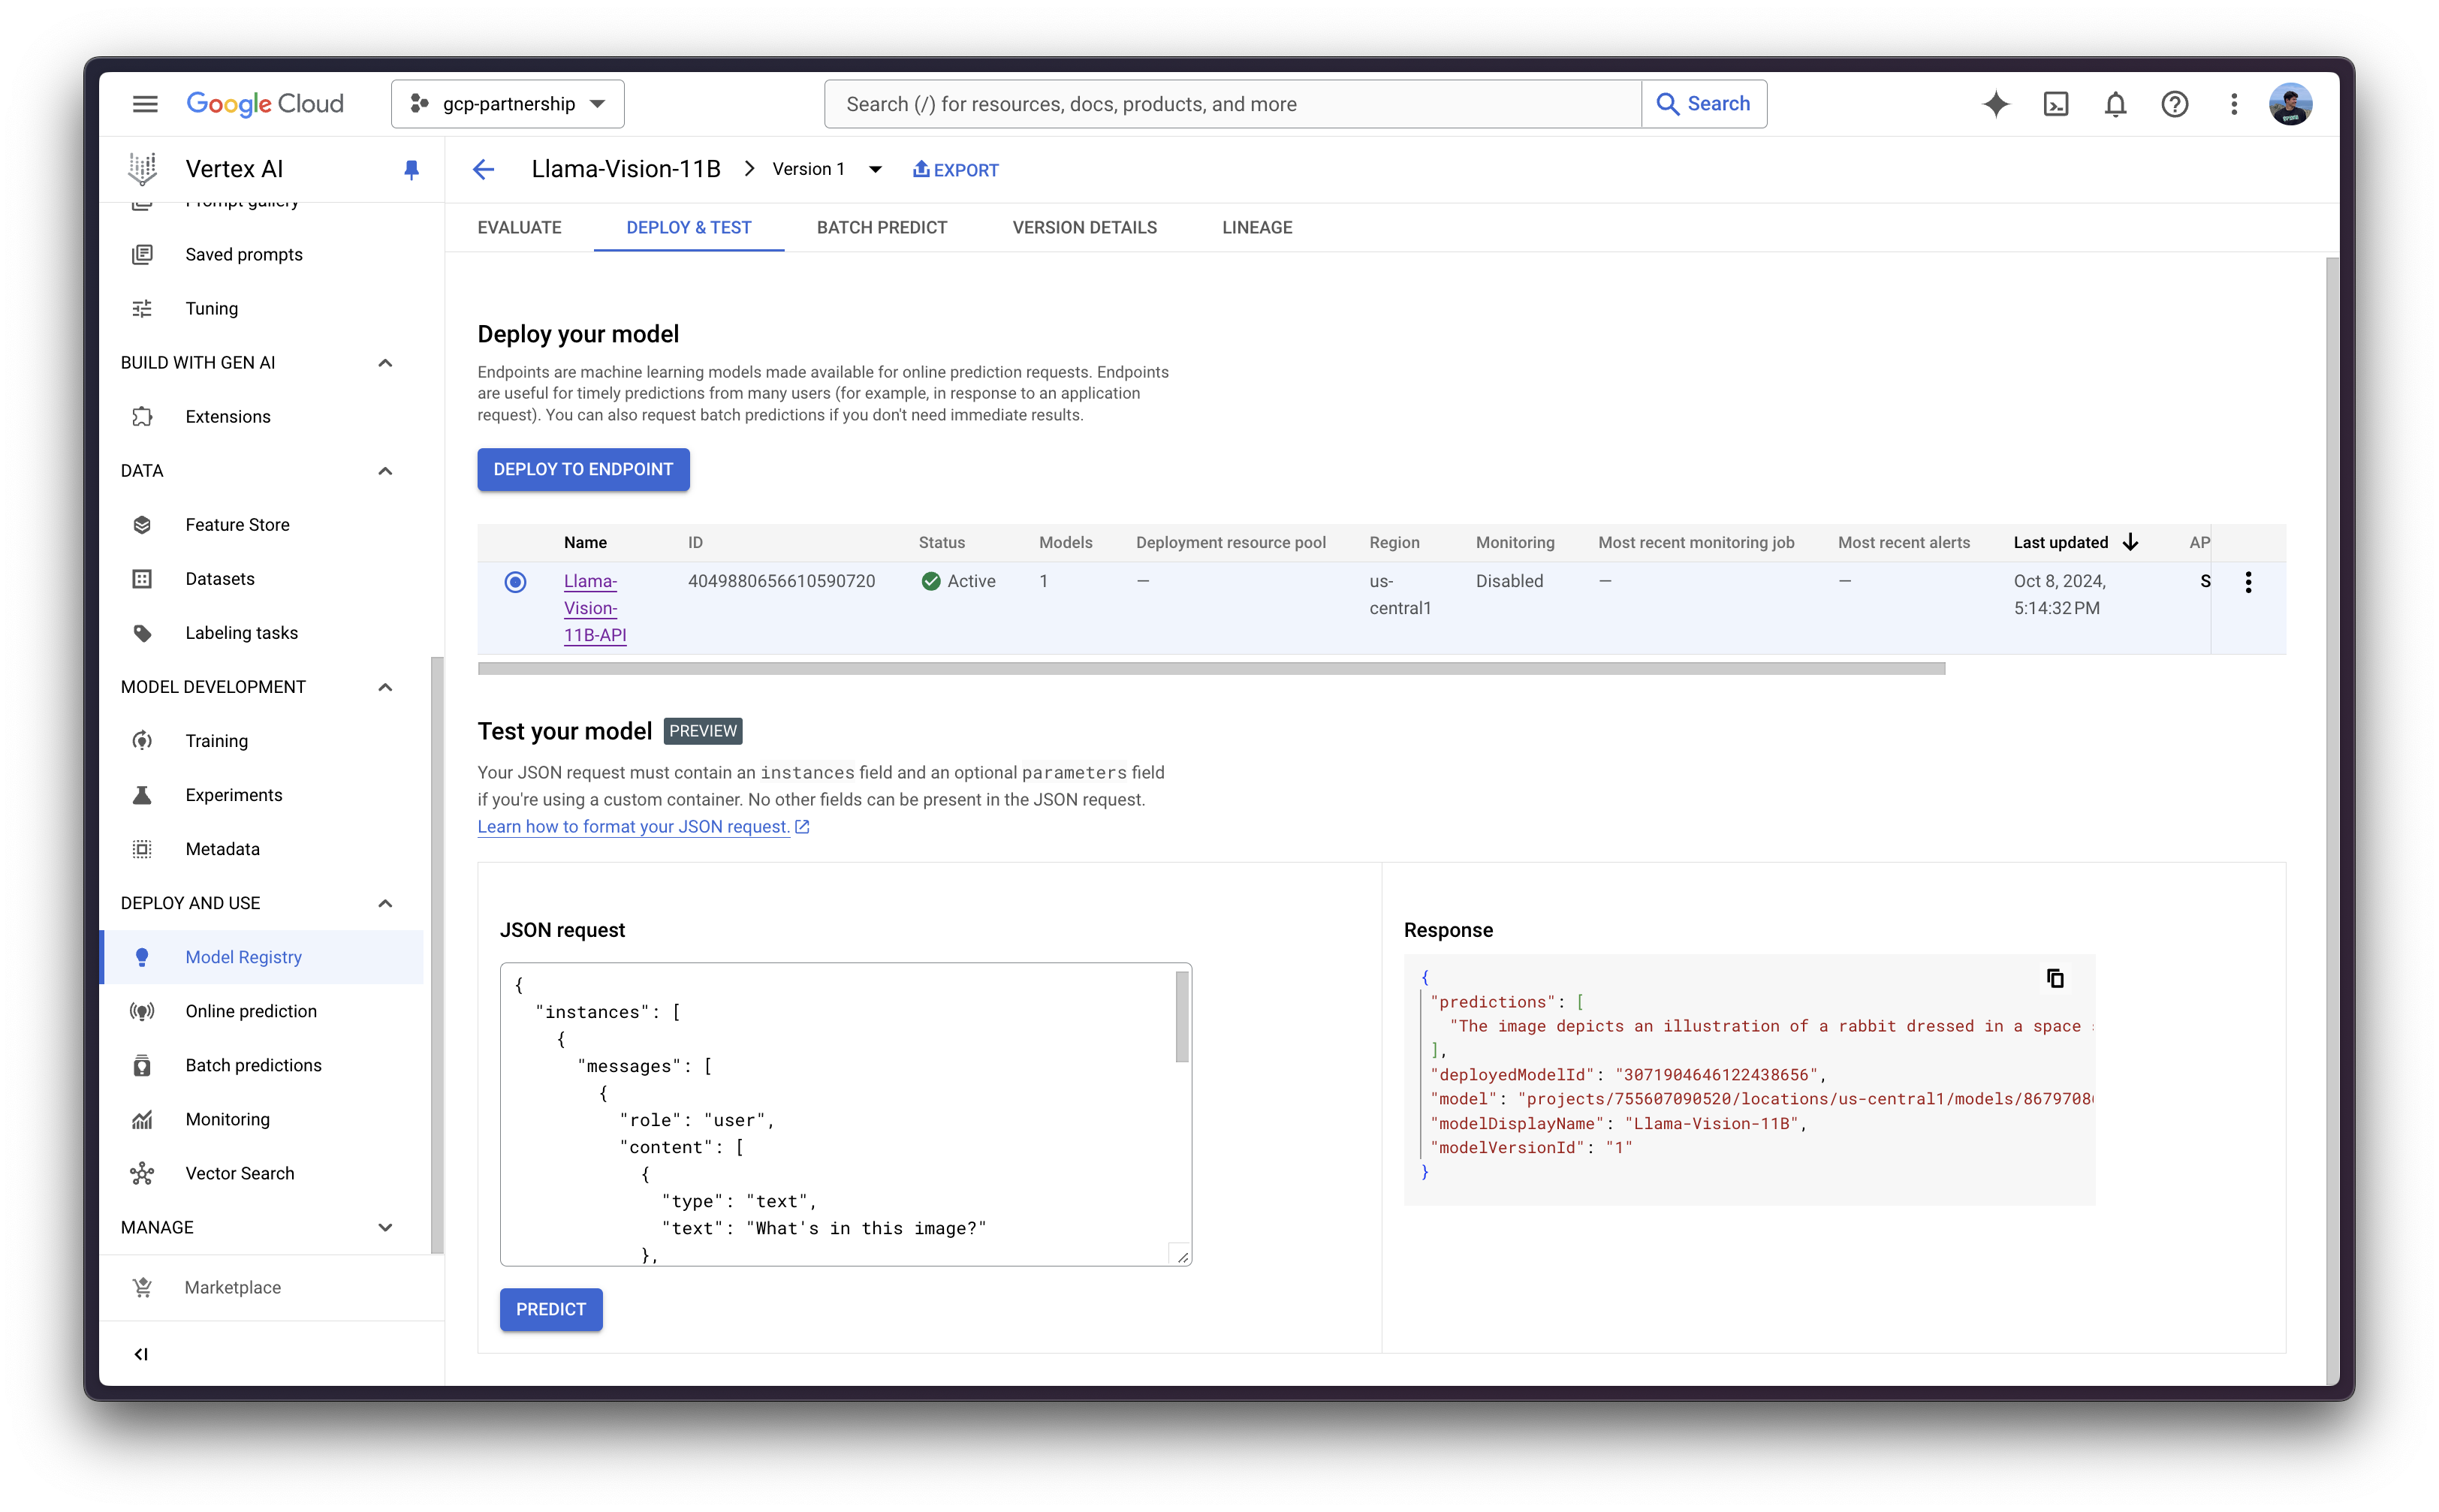
通过 Vertex AI 在线预测 UI
或者,出于测试目的,你也可以使用 Vertex AI 在线预测用户界面,该界面提供了一个字段,用于输入根据 Vertex AI 规范(如上例所示)格式化的 JSON 有效负载:
{
    "instances": [
        {
            "messages": [
                {
                    "role": "user",
                    "content": [
                        {
                            "type": "text",
                            "text": "What's in this image?"
                        },
                        {
                            "type": "image_url",
                            "image_url": {
                                "url": "https://huggingface.co/datasets/huggingface/documentation-images/resolve/main/transformers/rabbit.png"
                            }
                        }
                    ]
                }
            ],
            "parameters": {
                "max_new_tokens": 256,
                "do_sample": true,
                "top_p": 0.95,
                "temperature": 1.0,
                "stream": false
            }
        }
    ]
}
资源清理
最后,您可以按如下方式释放您已创建的资源,以避免不必要的成本:
deployed_model.undeploy_all用于从所有端点取消部署模型。deployed_model.delete用于在undeploy_all方法后,从部署模型的端点中优雅地删除模型。model.delete用于从注册表中删除模型。
deployed_model.undeploy_all()
deployed_model.delete()
model.delete()
或者,你也可以按照以下步骤从 Google Cloud Console 中删除这些资源:
- 前往 Google Cloud 中的 Vertex AI
- 前往“部署和使用”->“在线预测”
- 点击端点,然后点击已部署的模型以“从端点取消部署模型”
- 然后返回端点列表并删除该端点
- 最后,前往“部署和使用”->“模型注册表”,然后删除模型
📍 完整示例请访问 GitHub 此处!