google-cloud 文档
在Vertex AI上从GCS部署带TGI DLC的Gemma 7B
并获得增强的文档体验
开始使用
在Vertex AI上从GCS部署带TGI DLC的Gemma 7B
Gemma是由Google DeepMind和Google其他团队开发的轻量级、最先进的开放模型系列,它们与Gemini模型使用相同的研究和技术。Text Generation Inference(TGI)是Hugging Face开发的一个工具包,用于部署和提供LLM服务,具有高性能文本生成。而Google Vertex AI是一个机器学习(ML)平台,可让您训练和部署ML模型和AI应用程序,并定制大型语言模型(LLM)以用于您的AI驱动应用程序。
此示例展示了如何使用Google Cloud Platform (GCP)中提供的Hugging Face DLC for TGI,在Vertex AI上部署任何受支持的文本生成模型,本例中是google/gemma-7b-it,该模型从Hugging Face Hub下载并上传到Google Cloud Storage (GCS)存储桶。
设置/配置
首先,您需要在本地机器上安装gcloud,这是Google Cloud的命令行工具,请按照Cloud SDK文档 - 安装gcloud CLI中的说明进行操作。
然后,您还需要安装 google-cloud-aiplatform Python SDK,这是以编程方式创建 Vertex AI 模型、注册模型、创建端点并在 Vertex AI 上部署模型所需的。
!pip install --upgrade --quiet google-cloud-aiplatform
或者,为了简化本教程中命令的使用,您需要为 GCP 设置以下环境变量
%env PROJECT_ID=your-project-id
%env LOCATION=your-location
%env BUCKET_URI=gs://your-bucket
%env ARTIFACT_NAME=google--gemma-7b-it
%env CONTAINER_URI=us-docker.pkg.dev/deeplearning-platform-release/gcr.io/huggingface-text-generation-inference-cu124.2-3.ubuntu2204.py311
然后您需要登录您的 GCP 帐户,并将项目 ID 设置为您想要用于在 Vertex AI 上注册和部署模型的项目 ID。
!gcloud auth login
!gcloud auth application-default login  # For local development
!gcloud config set project $PROJECT_ID
登录后,您需要启用 GCP 中必要的服务 API,例如 Vertex AI API、Compute Engine API 和 Google Container Registry 相关 API。
!gcloud services enable aiplatform.googleapis.com
!gcloud services enable compute.googleapis.com
!gcloud services enable container.googleapis.com
!gcloud services enable containerregistry.googleapis.com
!gcloud services enable containerfilesystem.googleapis.com
可选:在GCS中创建存储桶并从Hub上传模型
除非您已经有一个包含要服务的工件的GCS存储桶,否则请按照以下说明创建一个新存储桶并下载模型权重并将其上传到其中。
要在Google Cloud Storage (GCS)上创建存储桶,您首先需要确保新存储桶的名称是唯一的,或者检查是否已存在同名存储桶。为此,需要提前安装gsutil SDK和crcmod Python包,如下所示
!gcloud components install gsutil
!pip install --upgrade --quiet crcmod
然后,您可以使用以下bash脚本检查GCS中是否存在该存储桶,如果不存在则创建它
%%bash
# Parse the bucket from the provided $BUCKET_URI path i.e. given gs://bucket-name/dir, extract bucket-name
BUCKET_NAME=$(echo $BUCKET_URI | cut -d'/' -f3)
# Check if the bucket exists, if not create it
if [ -z "$(gsutil ls | grep gs://$BUCKET_NAME)" ]; then
gcloud storage buckets create gs://$BUCKET_NAME --project=$PROJECT_ID --location=$LOCATION --default-storage-class=STANDARD --uniform-bucket-level-access
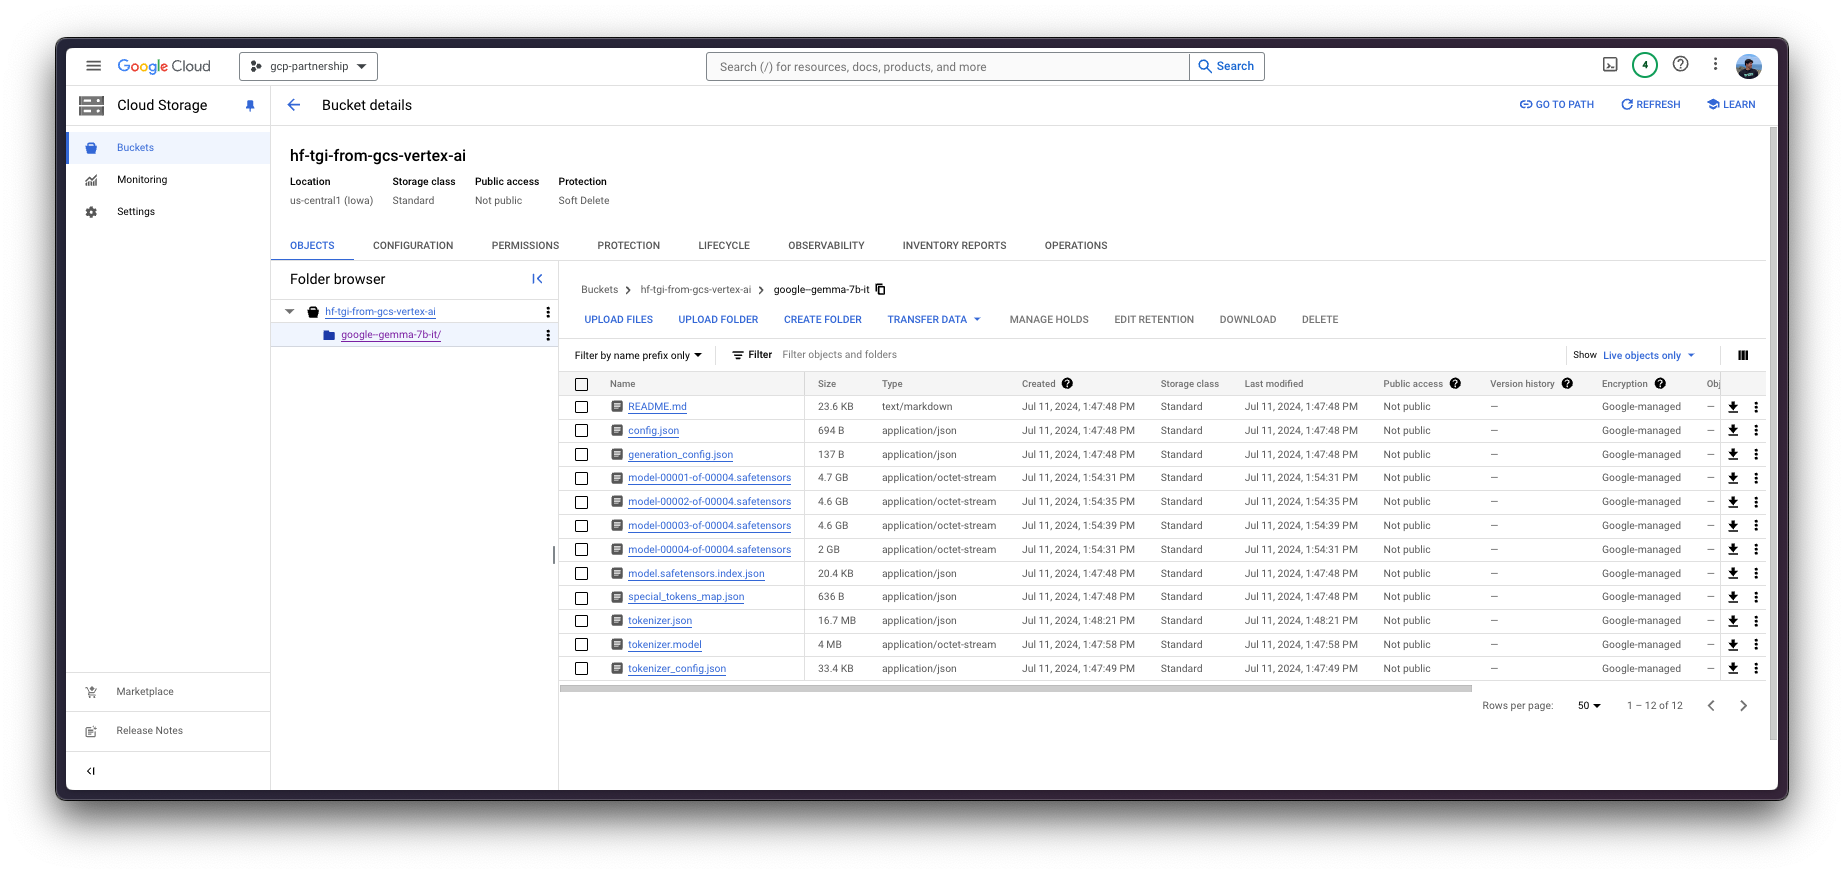
fi如果存储桶已创建或已存在,您就可以从Hugging Face Hub或本地存储上传google/gemma-7b-it。
从磁盘/本地存储获取工件
如果模型在本地可用,例如在Hugging Face缓存路径~/.cache/huggingface/hub/models--google--gemma-7b-it/snapshots/8adab6a35fdbcdae0ae41ab1f711b1bc8d05727e下,您应该运行以下脚本将其上传到GCS存储桶。
%%bash
# Upload the model to Google Cloud Storage
LOCAL_DIR=~/.cache/huggingface/hub/models--google--gemma-7b-it/snapshots/8adab6a35fdbcdae0ae41ab1f711b1bc8d05727e
if [ -d "$LOCAL_DIR" ]; then
    gsutil -o GSUtil:parallel_composite_upload_threshold=150M -m cp -r $LOCAL_DIR/* $BUCKET_URI/$ARTIFACT_NAME
fi
从Hugging Face Hub获取工件
或者,您也可以将模型从Hugging Face Hub上传到GCS存储桶。由于google/gemma-7b-it是一个受限模型,您需要使用具有访问受限模型的细粒度访问令牌或具有您账户的整体读取访问权限的读取访问令牌登录到您的Hugging Face Hub账户。
有关如何在Hugging Face Hub中生成只读访问令牌的更多信息,请参阅https://huggingface.co/docs/hub/en/security-tokens中的说明。
!pip install "huggingface_hub[hf_transfer]" --upgrade --quietfrom huggingface_hub import interpreter_login
interpreter_login()安装huggingface_hub并登录完成后,您可以运行以下bash脚本将模型下载到本地临时目录,然后将其上传到GCS存储桶。
%%bash
# Ensure the necessary environment variables are set
export HF_HUB_ENABLE_HF_TRANSFER=1

# # Create a local directory to store the downloaded models
LOCAL_DIR="tmp/google--gemma-7b-it"
mkdir -p $LOCAL_DIR

# # Download models from HuggingFace, excluding certain file types
huggingface-cli download google/gemma-7b-it --exclude "*.bin" "*.pth" "*.gguf" ".gitattributes" --local-dir $LOCAL_DIR

# Upload the downloaded models to Google Cloud Storage
gsutil -o GSUtil:parallel_composite_upload_threshold=150M -m cp -e -r $LOCAL_DIR/* $BUCKET_URI/$ARTIFACT_NAME

# Remove all files and hidden files in the target directory
rm -rf tmp/要查看端到端脚本,请查看此存储库根目录中的./scripts/upload_model_to_gcs.sh。
在Vertex AI上注册模型
一切设置完成后,您就可以通过 google-cloud-aiplatform Python SDK 初始化 Vertex AI 会话,如下所示
import os
from google.cloud import aiplatform

aiplatform.init(
    project=os.getenv("PROJECT_ID"),
    location=os.getenv("LOCATION"),
    staging_bucket=os.getenv("BUCKET_URI"),
)
然后您就可以“上传”模型,即在Vertex AI上注册模型。这本身并不是上传,因为模型会在启动时自动从GCS存储桶URI下载,所以上传的只是配置,而不是模型权重。
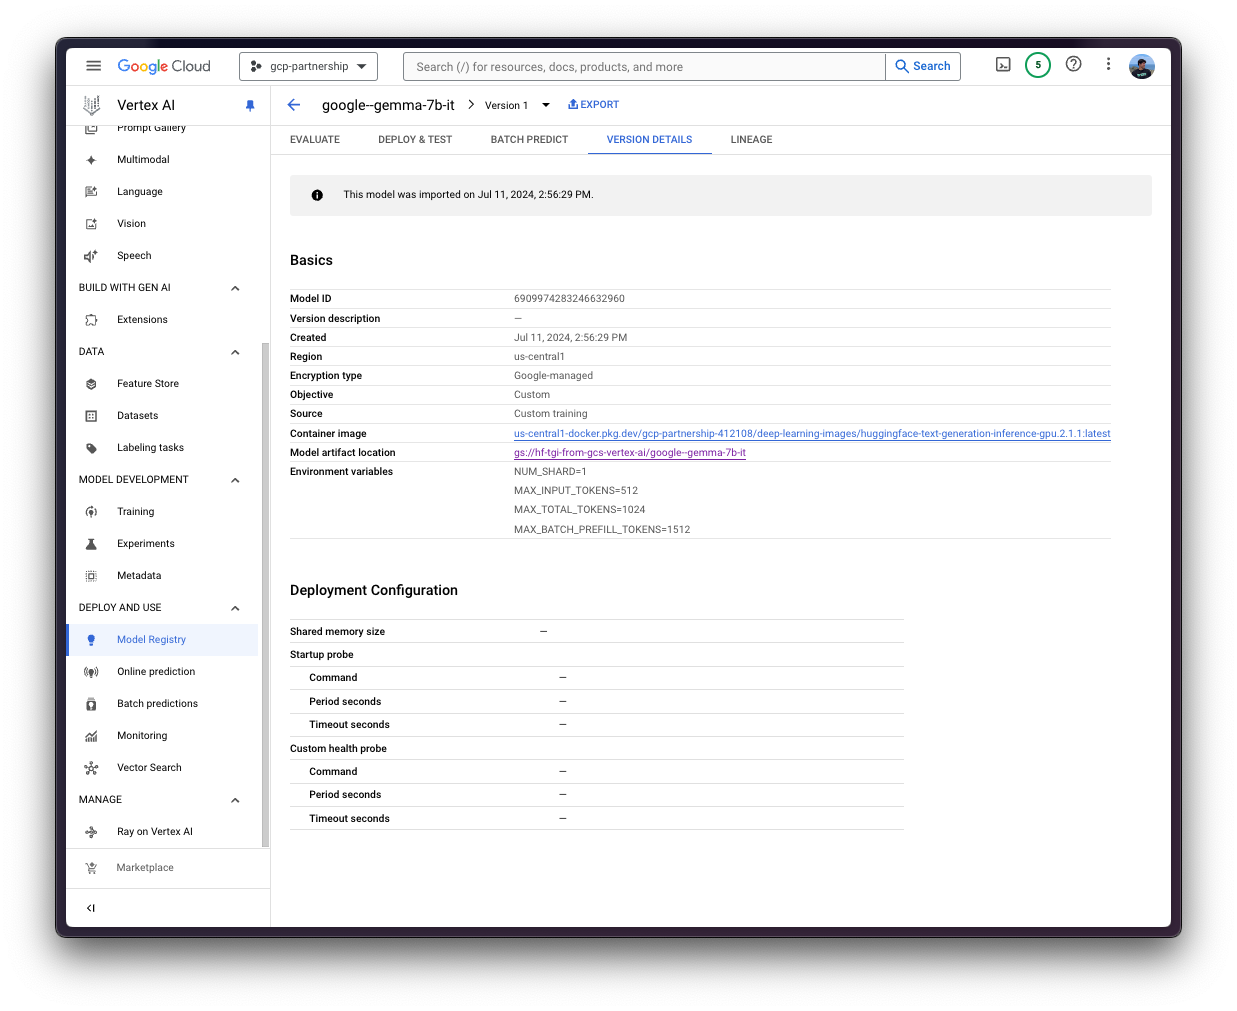
在深入代码之前,我们先快速回顾一下提供给 upload 方法的参数
display_name是将在 Vertex AI 模型注册表中显示的名称。artifact_uri是GCS存储桶中工件目录的路径。serving_container_image_uri是将用于服务模型的 Hugging Face DLC for TGI 的位置。serving_container_environment_variables是容器运行时将使用的环境变量,因此它们与text-generation-inference定义的环境变量一致,与text-generation-launcher参数类似。此外,Hugging Face DLC for TGI还会捕获Vertex AI的AIP_环境变量,如Vertex AI文档 - 预测的自定义容器要求所述。NUM_SHARD是要使用的分片数量,如果您不想使用给定机器上的所有GPU,例如如果您有两个GPU但只想为TGI使用一个,则NUM_SHARD=1,否则它与CUDA_VISIBLE_DEVICES匹配。MAX_INPUT_TOKENS是允许的最大输入长度(以 token 数量表示),它越大,提示词可以越大,但也会消耗更多的内存。MAX_TOTAL_TOKENS是最重要的设置值,因为它定义了运行客户端请求的“内存预算”,该值越大,每个请求在 RAM 中占用的量就越大,批处理效率就越低。MAX_BATCH_PREFILL_TOKENS限制预填充操作的 token 数量,因为它占用内存最多且受计算限制,因此限制可以发送的请求数量是很有趣的。HUGGING_FACE_HUB_TOKEN是Hugging Face Hub令牌,因为google/gemma-7b-it是一个受限模型,所以这是必需的。
(可选)
serving_container_ports是 Vertex AI 端点将暴露的端口,默认为 8080。
有关受支持的aiplatform.Model.upload参数的更多信息,请查看其Python参考文档:https://cloud.google.com/python/docs/reference/aiplatform/latest/google.cloud.aiplatform.Model#google_cloud_aiplatform_Model_upload。
从TGI 2.3 DLC,即us-docker.pkg.dev/deeplearning-platform-release/gcr.io/huggingface-text-generation-inference-cu124.2-3.ubuntu2204.py311开始,您可以将环境变量MESSAGES_API_ENABLED的值设置为"true",以在Vertex AI上部署Messages API,否则将部署Generate API。
model = aiplatform.Model.upload(
    display_name="google--gemma-7b-it",
    artifact_uri=f"{os.getenv('BUCKET_URI')}/{os.getenv('ARTIFACT_NAME')}",
    serving_container_image_uri=os.getenv("CONTAINER_URI"),
    serving_container_environment_variables={
        "NUM_SHARD": "1",
        "MAX_INPUT_TOKENS": "512",
        "MAX_TOTAL_TOKENS": "1024",
        "MAX_BATCH_PREFILL_TOKENS": "1512",
    },
    serving_container_ports=[8080],
)
model.wait()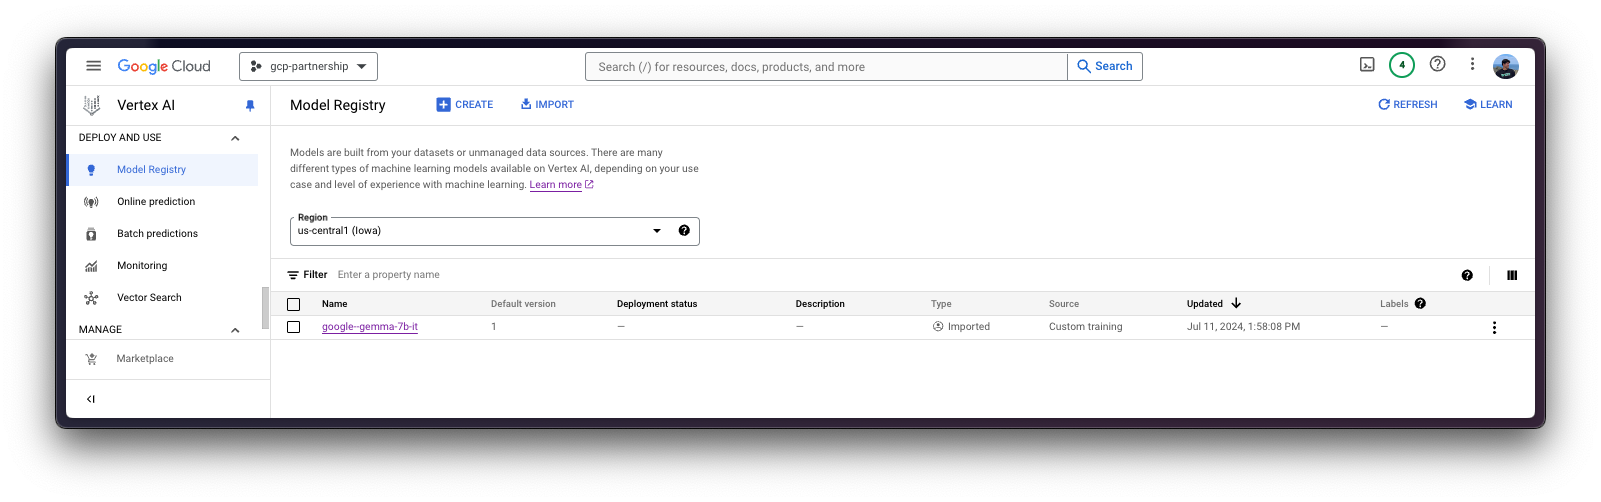
在Vertex AI上部署模型
在 Vertex AI 上注册模型后,您需要定义要将模型部署到的端点,然后将模型部署链接到该端点资源。
为此,您需要调用 aiplatform.Endpoint.create 方法来创建一个新的 Vertex AI 端点资源(该资源尚未链接到模型或任何可用的东西)。
endpoint = aiplatform.Endpoint.create(display_name="google--gemma-7b-it-endpoint")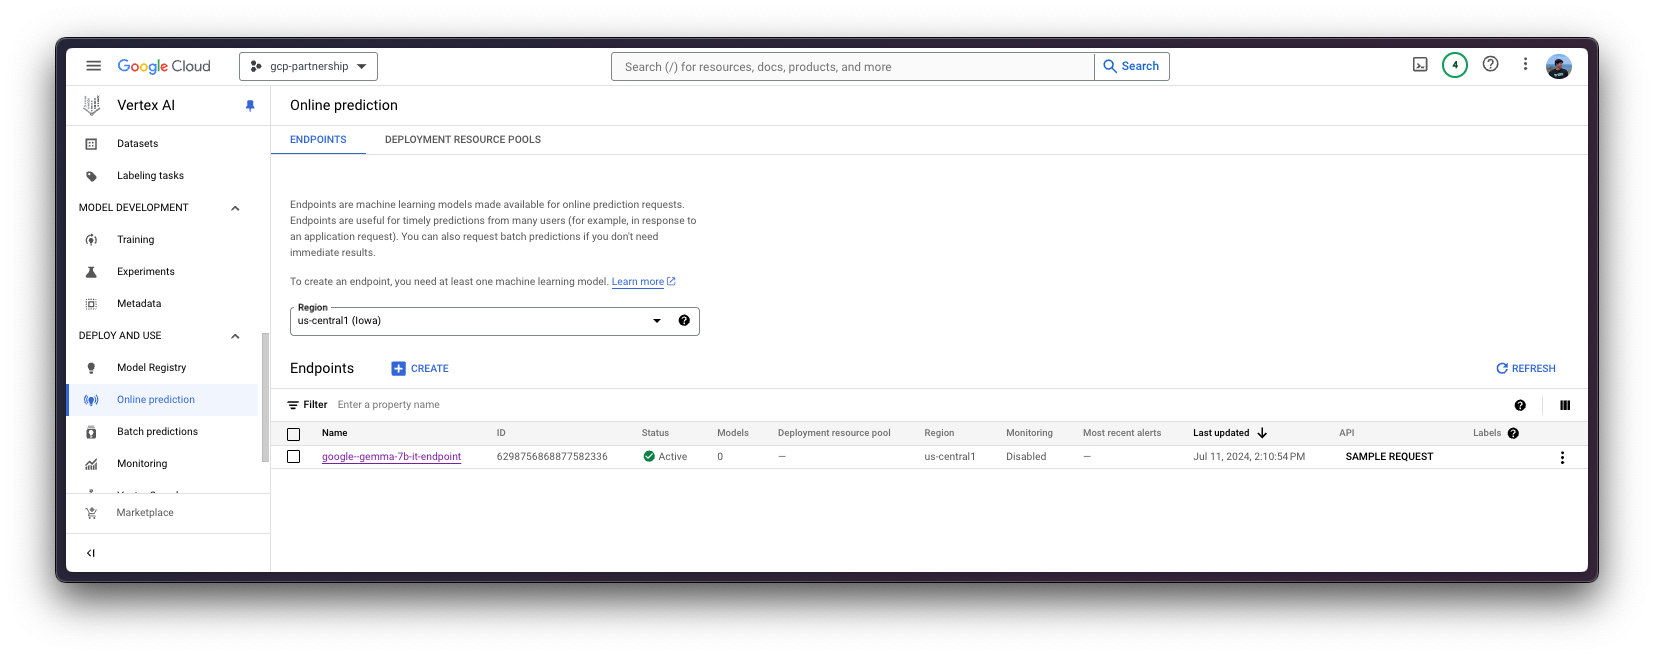
现在您可以在 Vertex AI 上的端点中部署已注册的模型。
deploy 方法会将之前创建的端点资源与包含服务容器配置的模型链接起来,然后将其部署到指定实例的 Vertex AI 上。
在进入代码之前,让我们快速回顾一下提供给deploy方法的参数
endpoint是要将模型部署到的端点,它是可选的,默认情况下将设置为模型显示名称加上_endpoint后缀。machine_type、accelerator_type和accelerator_count是分别定义要使用的实例、加速器和加速器数量的参数。machine_type和accelerator_type是绑定的,因此您需要选择支持您正在使用的加速器的实例,反之亦然。有关不同实例的更多信息,请参阅Compute Engine 文档 - GPU 机器类型,以及有关accelerator_type命名的信息,请参阅Vertex AI 文档 - MachineSpec。
有关受支持的aiplatform.Model.deploy参数的更多信息,您可以查看其Python参考文档:https://cloud.google.com/python/docs/reference/aiplatform/latest/google.cloud.aiplatform.Model#google_cloud_aiplatform_Model_deploy。
deployed_model = model.deploy(
    endpoint=endpoint,
    machine_type="g2-standard-4",
    accelerator_type="NVIDIA_L4",
    accelerator_count=1,
)警告:通过 deploy 方法部署 Vertex AI 端点可能需要 15 到 25 分钟。
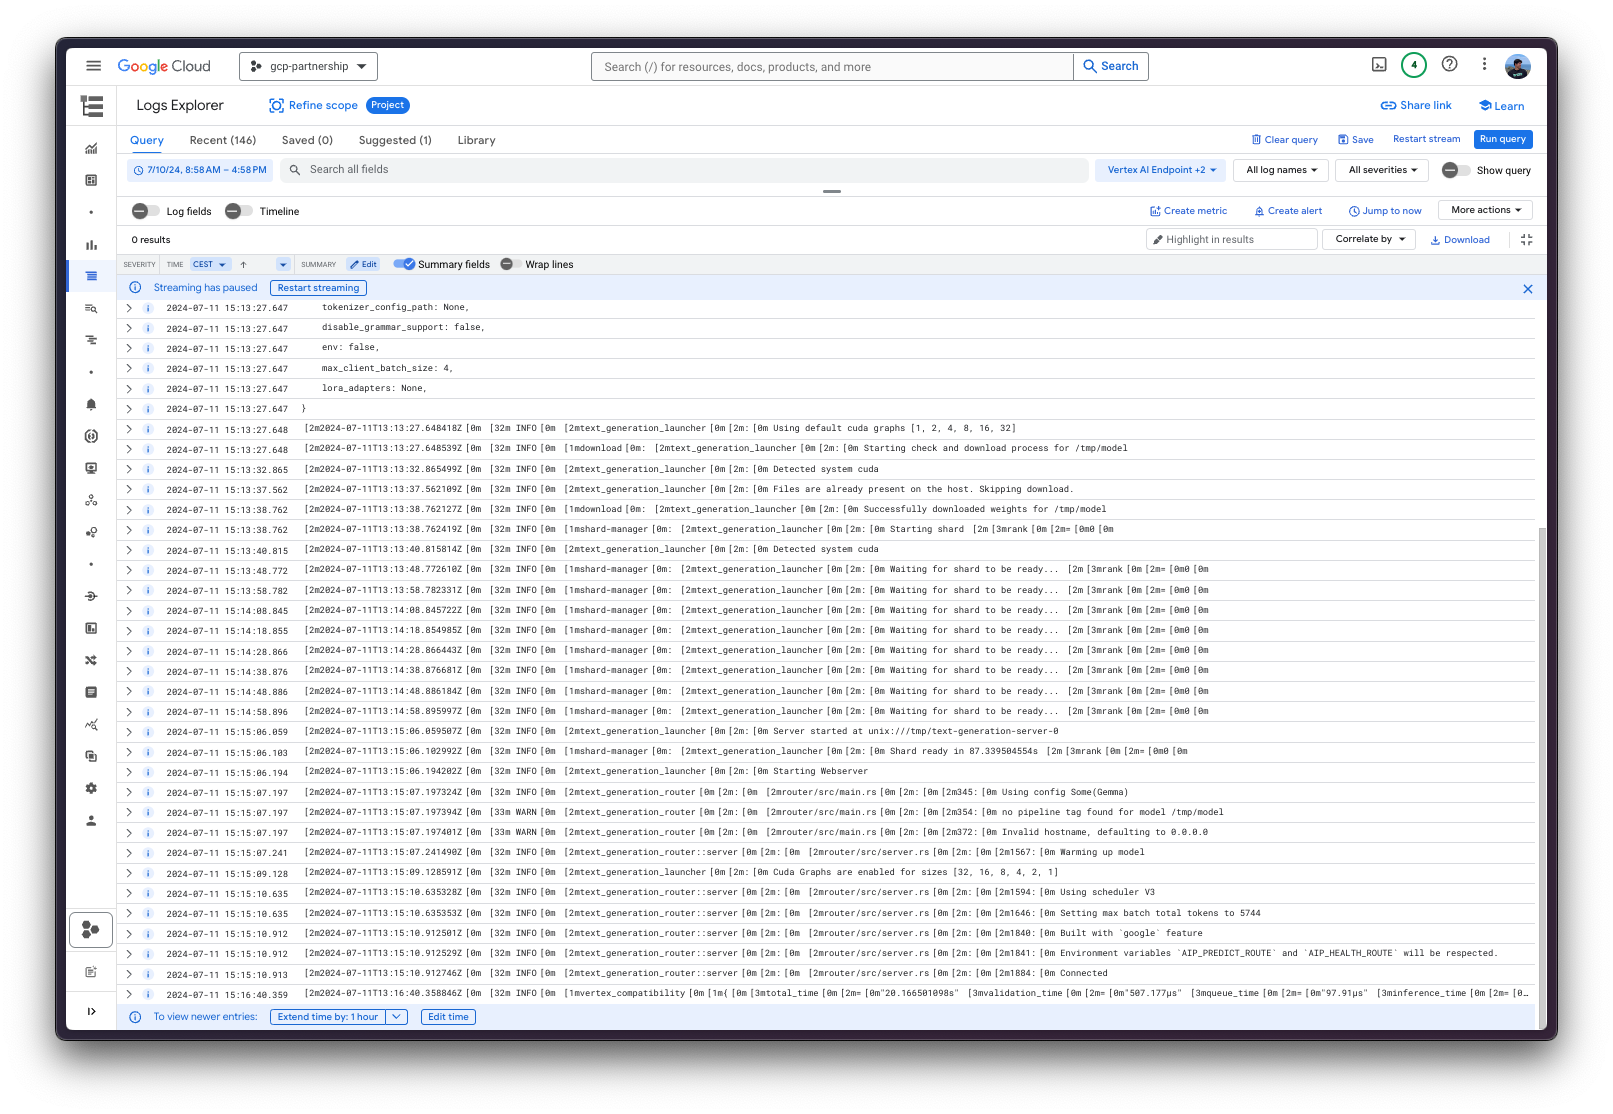
Vertex AI上的在线预测
最后,您可以使用predict方法在Vertex AI上运行在线预测,该方法将按照Vertex AI I/O有效载荷格式将请求发送到容器内指定的/predict路由的正在运行的端点。
由于您正在提供一个text-generation模型,您需要确保聊天模板(如果有)已正确应用于输入对话;这意味着需要安装transformers,以便为google/gemma-7b-it实例化tokenizer,并在将输入发送到Vertex AI端点之前,对输入对话运行apply_chat_template方法。
!pip install --upgrade --quiet transformers
安装完成后,以下代码片段会将聊天模板应用于对话
from huggingface_hub import get_token
from transformers import AutoTokenizer

tokenizer = AutoTokenizer.from_pretrained("google/gemma-7b-it", token=get_token())

messages = [
    {"role": "user", "content": "What's Deep Learning?"},
]

inputs = tokenizer.apply_chat_template(
    messages,
    tokenize=False,
    add_generation_prompt=True,
)
# <bos><start_of_turn>user\nWhat's Deep Learning?<end_of_turn>\n<start_of_turn>model\n
这正是您将通过有效负载发送到已部署的Vertex AI端点的内容,以及生成参数,如https://huggingface.co/docs/huggingface_hub/main/en/package_reference/inference_client#huggingface_hub.InferenceClient.text_generation所示。
通过Python
在同一会话中
如果您希望在当前会话中运行在线预测,可以通过 aiplatform.Endpoint(由 aiplatform.Model.deploy 方法返回)以编程方式发送请求,如下所示
output = deployed_model.predict(
    instances=[
        {
            "inputs": "<bos><start_of_turn>user\nWhat's Deep Learning?<end_of_turn>\n<start_of_turn>model\n",
            "parameters": {
                "max_new_tokens": 256,
                "do_sample": True,
                "top_p": 0.95,
                "temperature": 1.0,
            },
        },
    ]
)
print(output.predictions[0])
生成以下 output
Prediction(predictions=['\n\nDeep learning is a type of machine learning that uses artificial neural networks to learn from large amounts of data, making it a powerful tool for various tasks, including image recognition, natural language processing, and speech recognition.\n\n**Key Concepts:**\n\n* **Artificial Neural Networks (ANNs):** Structures that mimic the interconnected neurons in the brain.\n* **Deep Learning Architectures:** Multi-layered ANNs that learn hierarchical features from data.\n* **Transfer Learning:** Reusing learned features from one task to improve performance on another.\n\n**Types of Deep Learning:**\n\n* **Supervised Learning:** Models are trained on labeled data, where inputs are paired with corresponding outputs.\n* **Unsupervised Learning:** Models learn patterns from unlabeled data, such as clustering or dimensionality reduction.\n* **Reinforcement Learning:** Models learn through trial-and-error by interacting with an environment to optimize a task.\n\n**Benefits:**\n\n* **High Accuracy:** Deep learning models can achieve high accuracy on complex tasks.\n* **Adaptability:** Deep learning models can adapt to new data and tasks.\n* **Scalability:** Deep learning models can handle large amounts of data.\n\n**Applications:**\n\n* Image recognition\n* Natural language processing (NLP)\n'], deployed_model_id='***', metadata=None, model_version_id='1', model_resource_name='projects/***/locations/us-central1/models/***', explanations=None)从不同会话中
如果Vertex AI Endpoint是在不同会话中部署的,并且您想使用它但无法访问aiplatform.Model.deploy方法返回的deployed_model变量(如上一节所示);您还可以运行以下代码片段,通过其资源名称(projects/{PROJECT_ID}/locations/{LOCATION}/endpoints/{ENDPOINT_ID})实例化已部署的aiplatform.Endpoint。
您需要通过Google Cloud Console自行检索资源名称,即projects/{PROJECT_ID}/locations/{LOCATION}/endpoints/{ENDPOINT_ID} URL,或者只替换下面的ENDPOINT_ID,该ID可以通过之前实例化的endpoint(如endpoint.id)或Google Cloud Console在线预测列表中找到。
import os
from google.cloud import aiplatform

aiplatform.init(project=os.getenv("PROJECT_ID"), location=os.getenv("LOCATION"))

endpoint_display_name = "google--gemma-7b-it-endpoint"  # TODO: change to your endpoint display name

# Iterates over all the Vertex AI Endpoints within the current project and keeps the first match (if any), otherwise set to None
ENDPOINT_ID = next(
    (endpoint.name for endpoint in aiplatform.Endpoint.list() if endpoint.display_name == endpoint_display_name), None
)
assert ENDPOINT_ID, (
    "`ENDPOINT_ID` is not set, please make sure that the `endpoint_display_name` is correct at "
    f"https://console.cloud.google.com/vertex-ai/online-prediction/endpoints?project={os.getenv('PROJECT_ID')}"
)

endpoint = aiplatform.Endpoint(
    f"projects/{os.getenv('PROJECT_ID')}/locations/{os.getenv('LOCATION')}/endpoints/{ENDPOINT_ID}"
)
output = endpoint.predict(
    instances=[
        {
            "inputs": "<bos><start_of_turn>user\nWhat's Deep Learning?<end_of_turn>\n<start_of_turn>model\n",
            "parameters": {
                "max_new_tokens": 128,
                "do_sample": True,
                "top_p": 0.95,
                "temperature": 0.7,
            },
        },
    ],
)
print(output.predictions[0])
通过Vertex AI在线预测界面
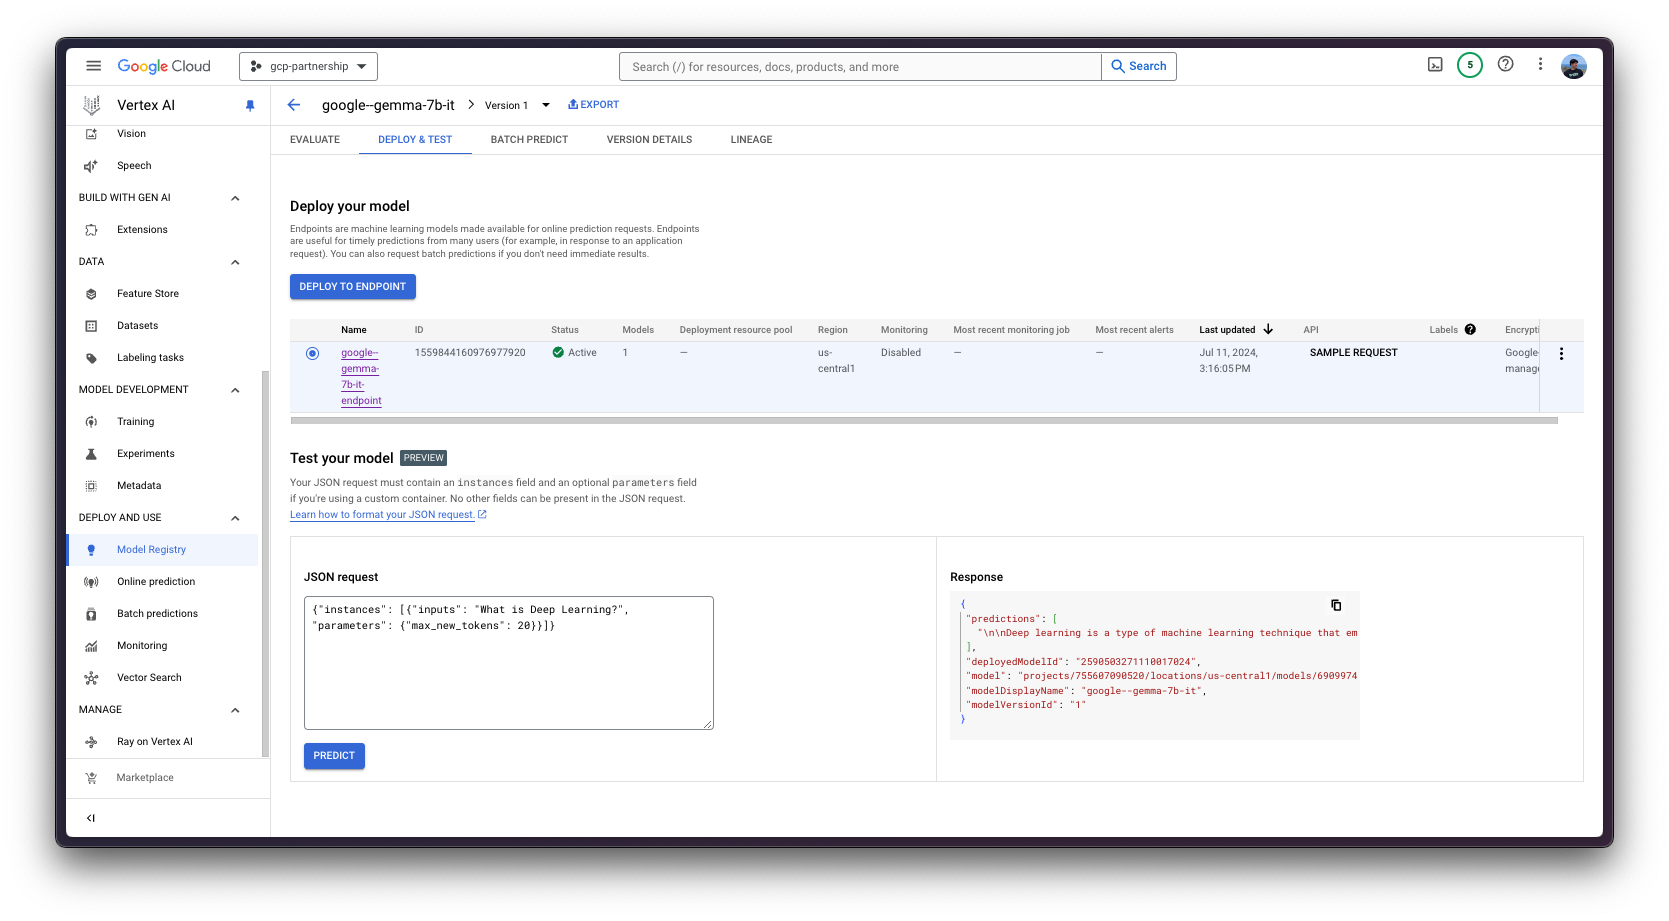
或者,出于测试目的,你也可以使用 Vertex AI 在线预测用户界面,该界面提供了一个字段,用于输入根据 Vertex AI 规范(如上例所示)格式化的 JSON 有效负载:
{
    "instances": [
        {
            "inputs": "<bos><start_of_turn>user\nWhat's Deep Learning?<end_of_turn>\n<start_of_turn>model\n",
            "parameters": {
                "max_new_tokens": 128,
                "do_sample": true,
                "top_p": 0.95,
                "temperature": 0.7
            }
        }
    ]
}
资源清理
最后,您可以按如下方式释放您已创建的资源,以避免不必要的成本:
deployed_model.undeploy_all用于从所有端点取消部署模型。deployed_model.delete用于在undeploy_all方法后,从部署模型的端点中优雅地删除模型。model.delete用于从注册表中删除模型。
从Vertex AI删除模型时,由于它存储在GCS存储桶中,删除模型不会删除存储桶及其内容。
deployed_model.undeploy_all()
deployed_model.delete()
model.delete()
或者,你也可以按照以下步骤从 Google Cloud Console 中删除这些资源:
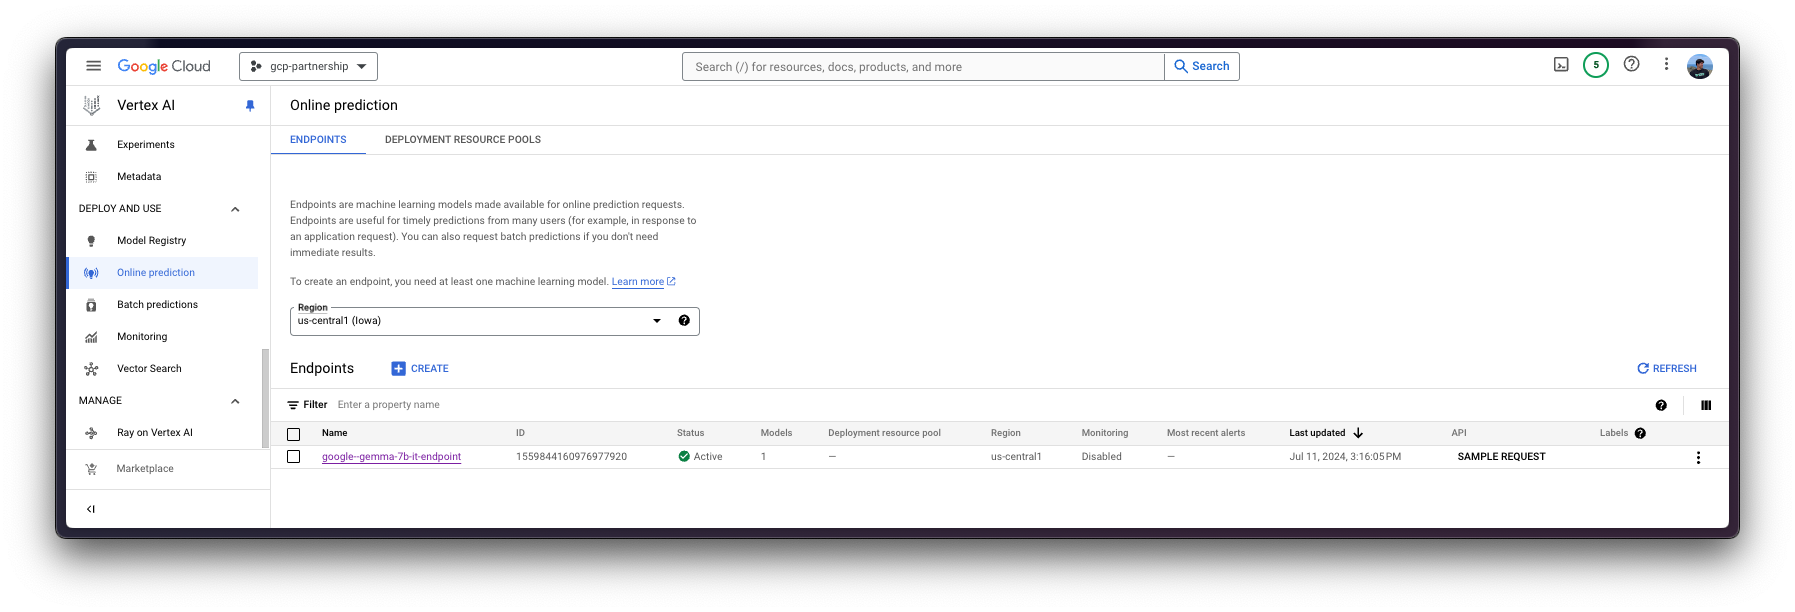
- 前往 Google Cloud 中的 Vertex AI
- 前往“部署和使用”->“在线预测”
- 点击端点,然后点击已部署的模型以“从端点取消部署模型”
- 然后返回端点列表并删除该端点
- 最后,前往“部署和使用”->“模型注册表”,然后删除模型
此外,您可能还需要删除GCS存储桶,为此,您可以使用以下gcloud命令
!gcloud storage rm -r $BUCKET_URI
或者,您可以从Google Cloud Console中删除存储桶和/或其内容。
📍 在GitHub上找到完整的示例这里!